Introducing the Spreadsheet application - Tutorials Ordissimo (Ordissimo v4)

With this practical guide, you will learn to create your first spreadsheet and see how to index a list of people using the example of an organized family gathering. Between formatting (making text bold, bigger, smaller or changing grid layout) and using formulas, we'll go over the basic functions of this application. In a spreadsheet, the page is made of multiple boxes called cells. You can horizontally pass from one cell to the next (for example from A1 to B1) using your keyboard's "Tab" key.
1Open the "Spreadsheet" application.
From the home page, click on "Spreadsheet".

2Write the title
a. Position your cursor.
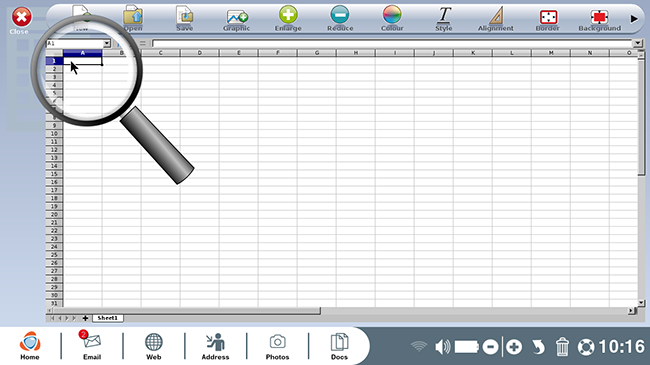
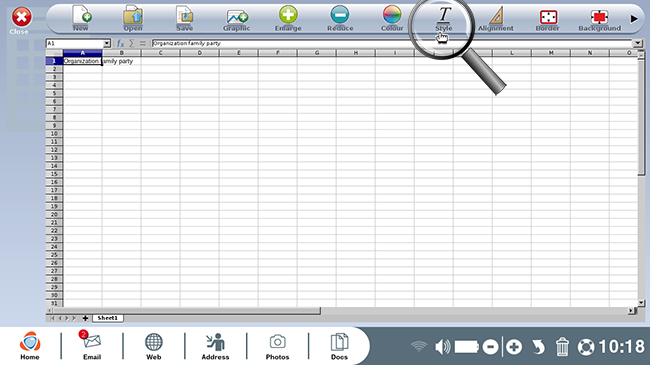
Your spreadsheet open, use your mouse to click on the "A1" cell to the top left.
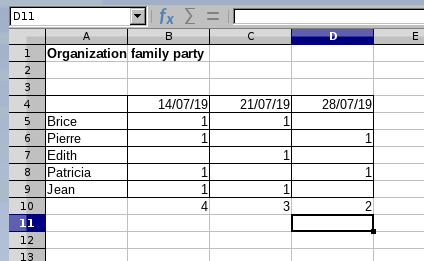
b. Write the title. In this example, you wish to identify the number of family members planning to attend your family gathering in May. As such, you type in "Organization family party".
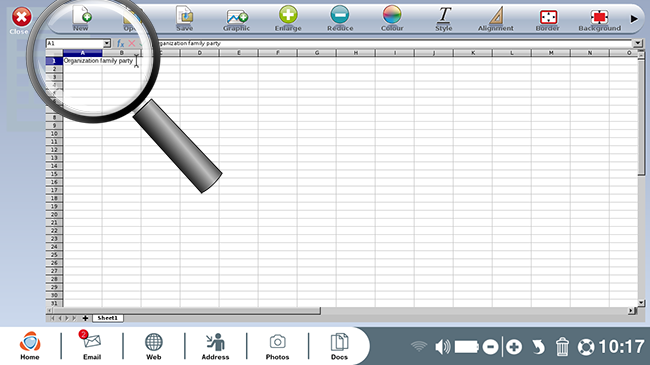
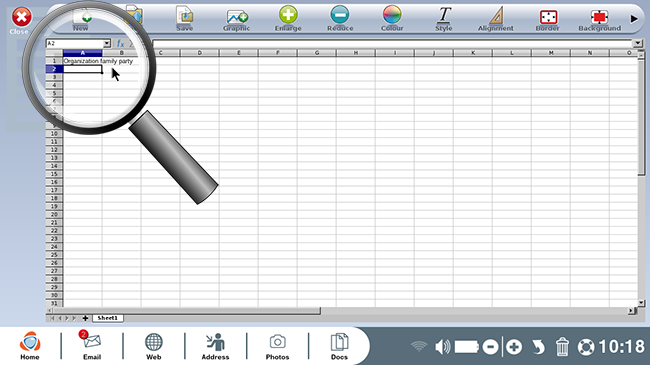
c. Validate by hitting "Enter".
Once you've finished typing, hit the "Enter" key.
3Format the title.
Now you'd like to make the title bold. Click on the cell that contains the text then, with your mouse, click on the "Style" icon then the "Bold" option.
At any time you can increase or decrease the font size by clicking on the cell containing the text, then on the "Enlarge" or "Reduce" buttons at the top of the screen.
4Enter data.
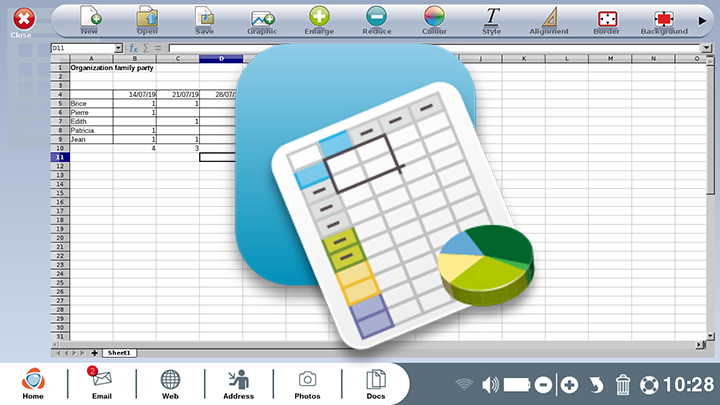
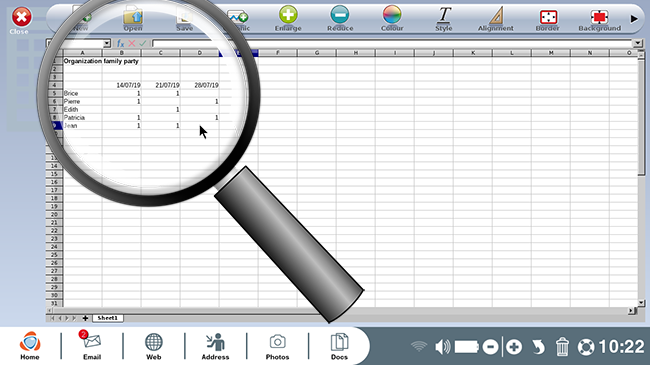
Now you can enter all available information into the spreadsheet with:
- participant names in column "A" (vertically)
- the three proposed dates in line "4" (horizontally).
- your family's responses by placing a "1" for each cousin's preferred date.
5Add borders.
a. Click on "Border".
Now you'd like to frame your table. Select the cells that make up your table with your mouse (click on one cell then hold and drag your cursor to select the desired zone). Leaving the zone selected, click on "Border" then "All borders" on your toolbar.
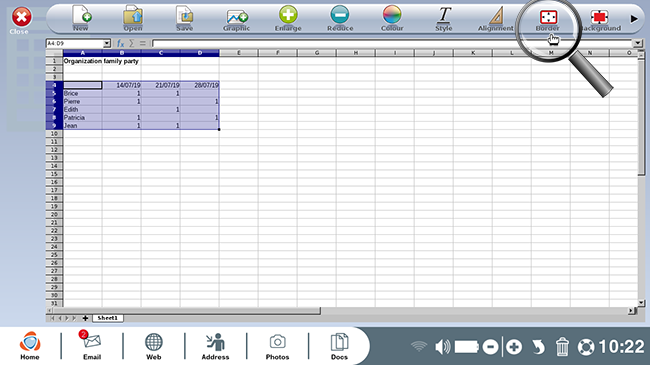
b. Here's a snapshot of the formatted table.
6Use the "Sum" function.
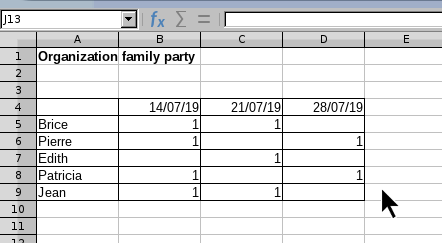
a. Sum of people present on July 14th.
Now, you'd like to count how many people are available on each date. Begin by creating the title "Sum" in the cell beneath the last first name. Move one cell over using the tab key (or clicking on it) to write your function. In the cell that will contain your sum, enter the following formula (without quotes): "SUM(B5:B9)", as indicated in the image below. The spreadsheet recognizes that with this formula, you are looking for the sum of all data between the cells B5 and B9.

Instead of entering "B5:B9", you can also type "=SUM" on your keyboard then select the cells you'd like to tally with your mouse.
b. Sum of people present on the 21st and 28th of July.
Complete the same operation, only this time with the sum of people available on July 21st and July 28th.
7Save your spreadsheet.
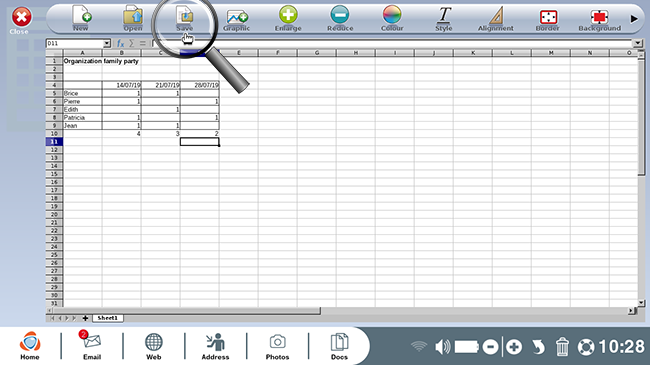
a. Click on "Save".
Next you'd like to save your spreadsheet so that you can come back to it later. Click on "Save" at the top of your screen.
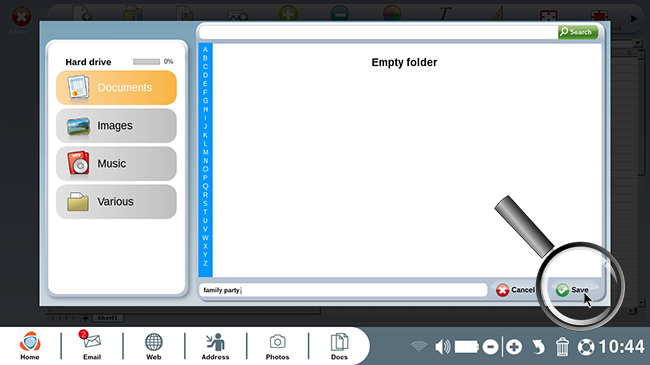
b. Enter document name.
A window will open automatically. Type in the name of the spreadsheet and click on "Save".
 print
print send to a friend