All of your "Extra" settings ! - Tutorials Ordissimo (Ordissimo v4)

Various ordissimo settings are accessible via the "Extras" window in the "Settings" application. These settings allow you to change your background, adjust the timing of your screensaver, update and/or modify your personal info, format a USB device (like a USB flash drive) and so much more. Here's an overview of the possibilities.
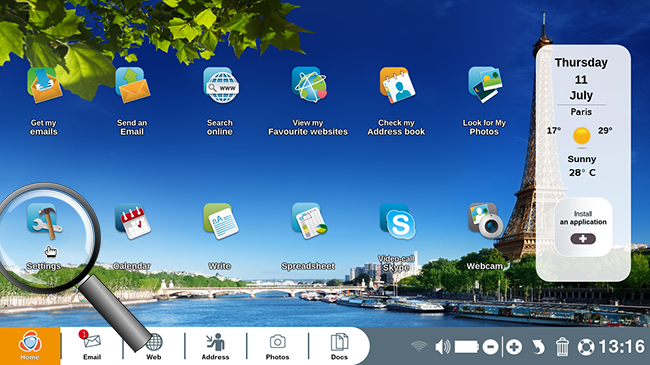
1Click on settings.
In order to access your "Extras", from the home screen click on "Settings".
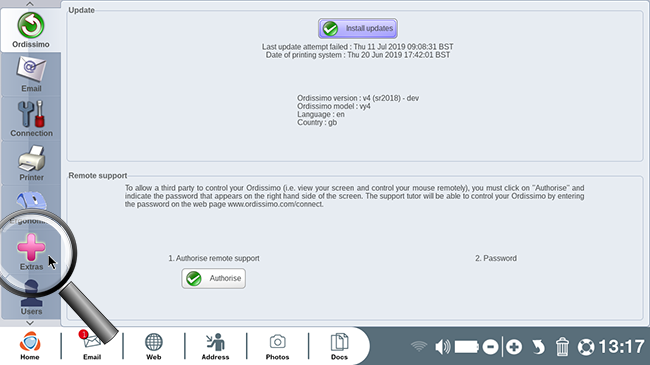
2Click on the "Extras" window.
Click on the "Extras" window to access various options.
3Change your background.
With Ordissimo, you can personalize your home screen. To do so, click on the "Background" section at the top of the screen. Select "An image", then click on "Load an image" in order to choose the photo you'd like to use as a computer background.
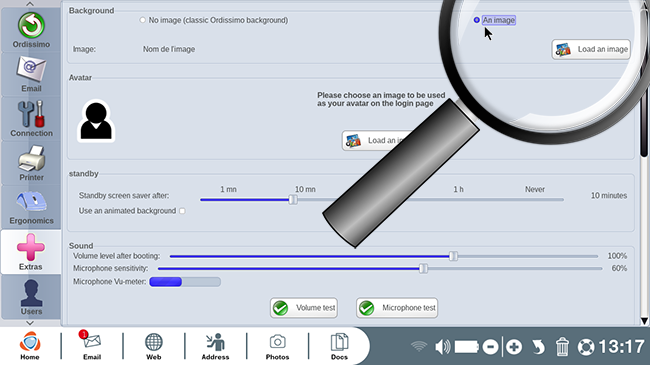
4Add an avatar.
You can add an avatar that will be used to represent you each time you log in to the computer (this is useful when there is more than one user on the same ordissimo). To do this, click on the "Load an image" button.
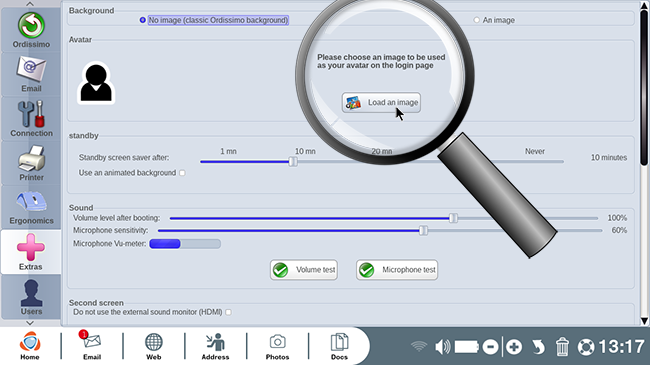
5Time until standby.
Your computer's standby option allows you to decide how long you'd like your computer to wait before entering standby mode and letting the screen go dark. This helps save battery life if you are not able to plug in your computer. Simply moving the mouse or pressing a key will bring the computer back to life.
On a tablet, the entire device will enter standby mode in order to save battery life. Once this happens, you'll need to press the power button to reactivate the tablet.
a. Modify time until standby.
In this instance, you wish to adjust the time until standby. To do so, use your mouse to click and hold down on the cursor.

b. Move the cursor to increase or decrease the time until standby.
Move your mouse to your desired time until standby: here, your Ordissimo will enter standby mode after 20 minutes of inactivity.
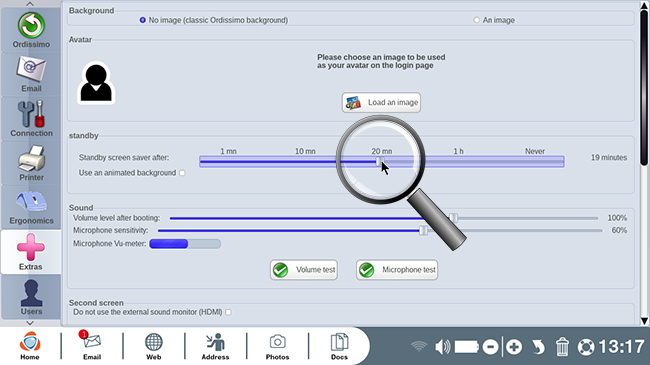
You also can also click on the "Use an animated background" option. This option activates a slideshow of your saved photos rather than the dark screen typically displayed in standby mode.
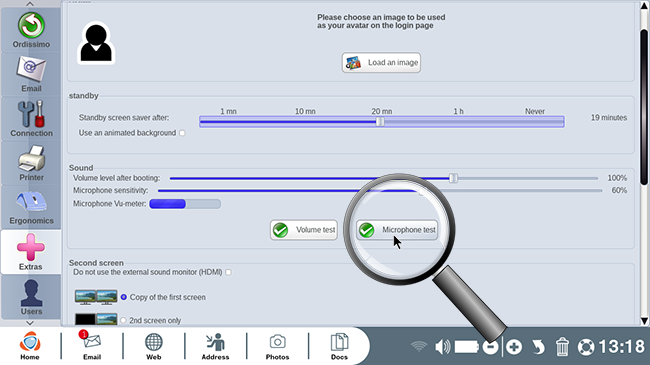
6Sound diagnostics.
In this section of your settings you can modify your computer volume during startup. As well, you are able to modify microphone sensitivity and observe the microphone meter, a fluctuating, blue bar that proves whether or not your microphone is working. This indicator is particularly useful when you use Skype. The bar should increase in length as you speak in front of the screen, proving that your microphone is working properly. You can also test your speaker volume by clicking on "Volume test" and your microphone by clicking on "Microphone test".
a. Click on "Microphone test".
In order to test your Ordissimo microphone, click on "Microphone test".
b. Record your voice.
A window will appear with the following message "The microphone test will record your voice for 10 seconds then play back the recording. Please click on "Ok" and speak for 10 seconds. Verify that your speakers are turned on." Click on "Ok" once you're ready to begin.
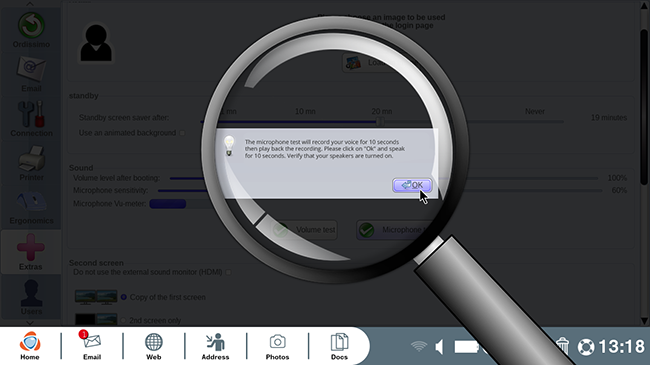
c. Hearing your voice.
If you can hear your recorded message, the test has been successful.
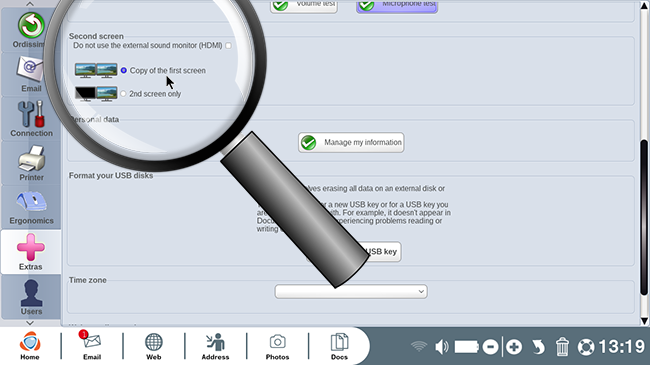
7Second screen.
The "Second screen" section is only useful if you've plugged a second monitor into your Ordissimo via an HDMI cable. This section gives you the option not to use sound from the external monitor. You can also choose whether your prefer to leave your Ordissimo screen on or to shut it off when you use the second screen.
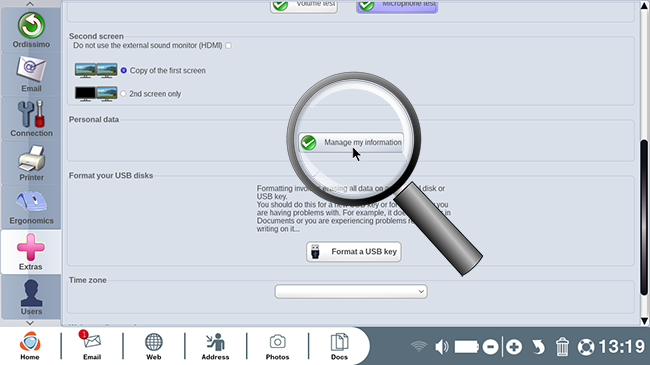
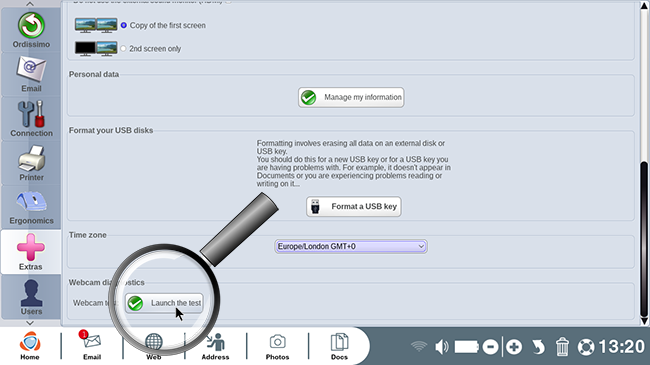
8 Personal information.
You can modify or delete previously filled in personal information. If your address or other personal info has changed, click on "Manage my information" to update it. This step is very important for accessing your local weather. The practical guide How to fill in personal information and be easily recognized by your Ordissimo should help you with any potential questions regarding your personal information.
9 Format a USB flash drive.
In what instance would you need to format a USB drive? Here are two possible scenarios:
- when you buy a new USB drive (the first time you use it, the file format may not be the same as on your computer)
- when you have a problem copying or reading files on your USB drive.
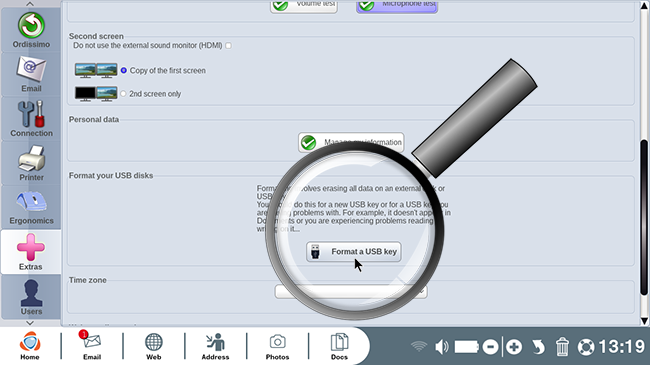
To know more, consult the following practical guide: Why format a USB flash drive?
10Time zone.
Are you going on vacation and would like to update your Ordissimo clock? You can change time zones by clicking on the arrow to the right of the time zone bar.
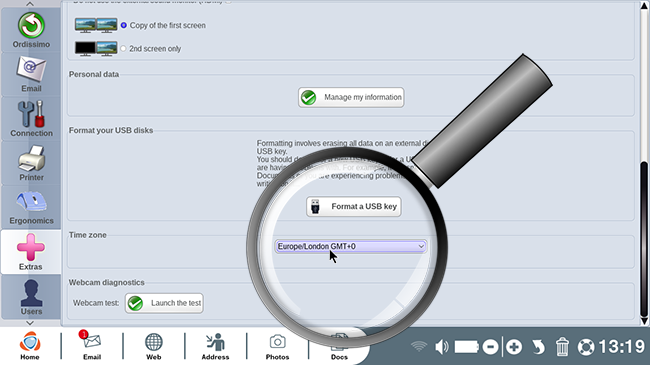
Once you've changed time zones, the new time will be displayed to the bottom right of your Ordissimo screen. This time will also be marked in your outgoing emails.
11 Webcam diagnostics.
a. Start the test.
To test the webcam (which can be used during Skype calls, see: How to sign up and use Skype), click on "Launch the test" in the "Webcam diagnostics" section.
b. Webcam activated.
The test has begun, if you see yourself on the screen then your webcam is correctly activated.
Now you can go to your "Extras" window and discover all the possibilities we've just gone over.
 print
print send to a friend