How to organize your photographs - Tutorials Ordissimo (Ordissimo v4)

Here are the different actions you can do to organize your photos: create a folder, rename, copy, paste, or move your photographs. These tasks allow you to correctly reorganize your photos in order to locate them more efficiently.
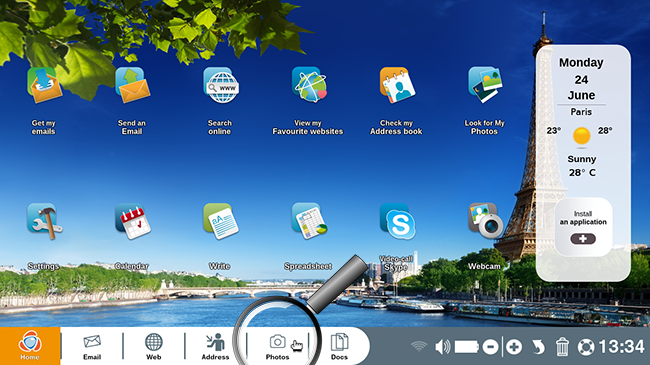
1Open the "Photos" application.
a. Click on "Photos".
To begin, from your Ordissimo home screen, click on "Photos" to the bottom of the screen.
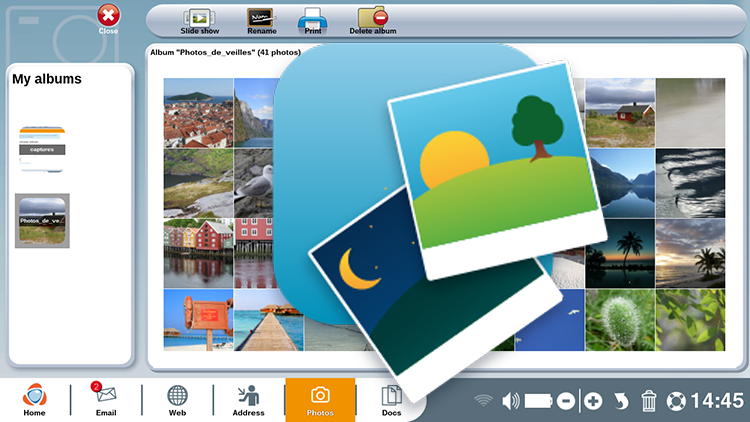
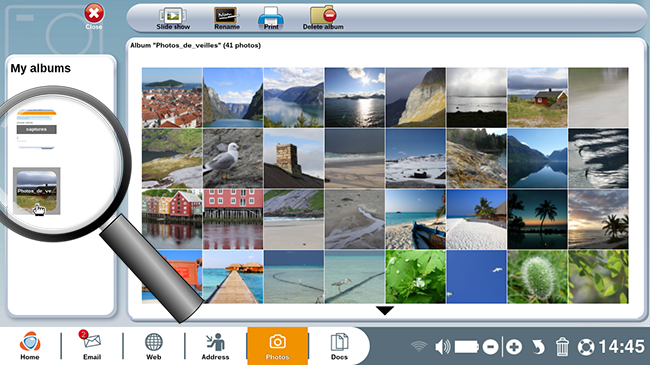
b. Review photo albums.
The current view includes your photo albums with the photos they contain.
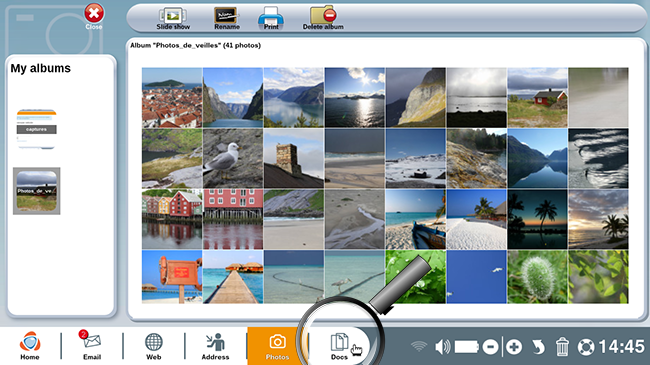
2Go to the "Docs" application.
To sort your photographs, click on "Docs" at the bottom center of the screen.
3Create a new folder.
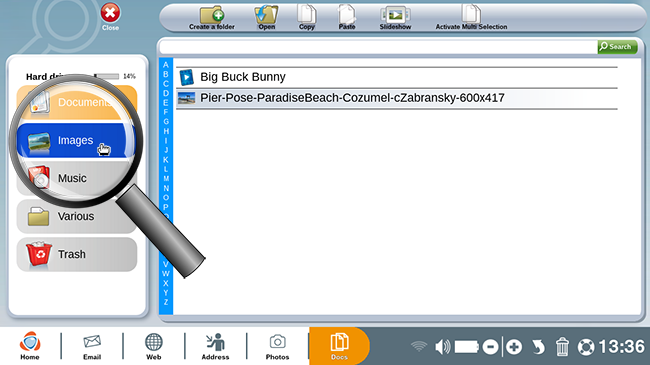
a. Click on the "Images" directory.
To find your saved photos on Ordissimo, click on the "Images" directory to the left of the screen.
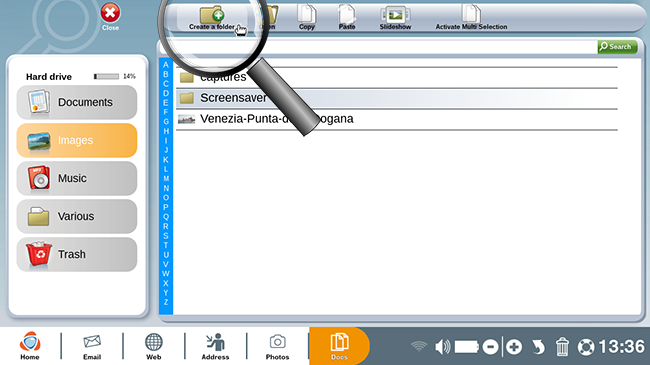
b. Click on the "Create a folder" document.
In order to create a new folder, click on the "Create a folder" icon to the top left of the screen.
c. Choose a title for the new folder.
A window appears allowing you to enter in the new folder's name. It's up to you to choose your title.
In this case, you wish to regroup your photos from your visit to Tokyo in 2019. Type in the chosen title and click on "Ok".
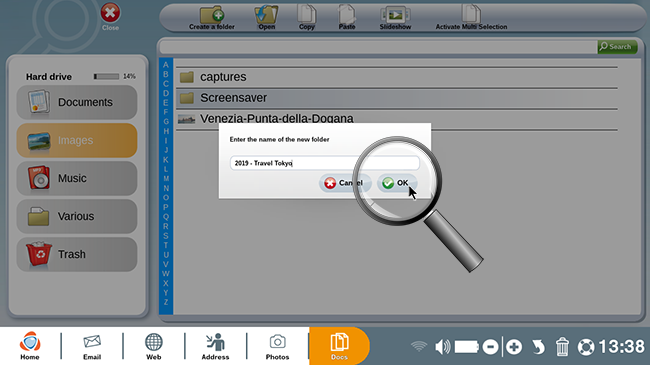
Consider indicating the date of the event first (particularly the year), as this will allow you to keep your photos in chronological order.
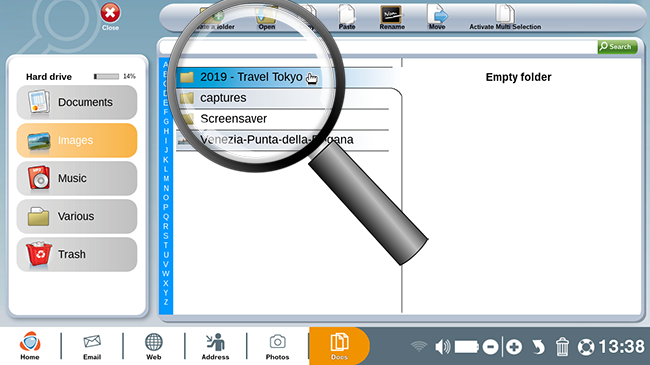
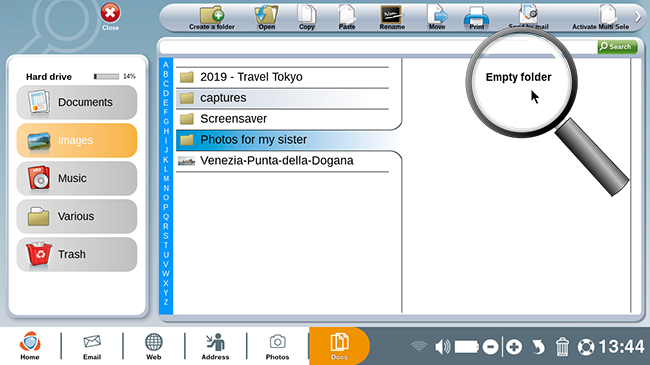
d. Review the new folder.
Here is the folder you've just created.
4Search for photos in order to sort them.
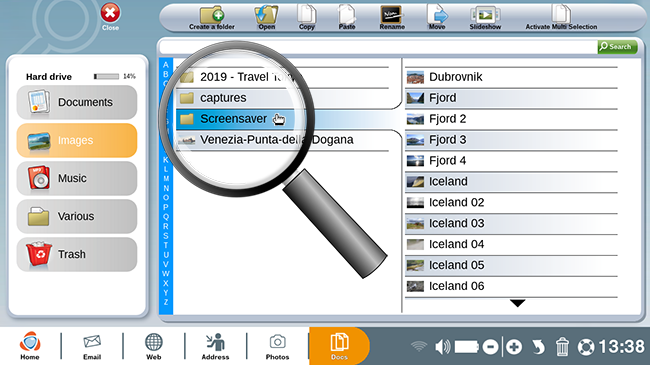
a. Open the folder.
For example, you mean to search for pictures from your trip to Tokyo in the "Screensaver" folder. Click on the folder in question.
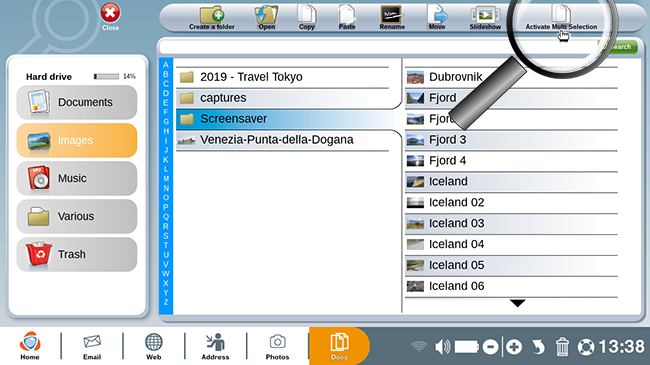
b. Select the photographs.
Select the photos you'd like to move to the folder you've just created. In this particular example, click on the "Activate Multi-Selection" icon at the top right of your screen, then click on all photos from Tokyo.
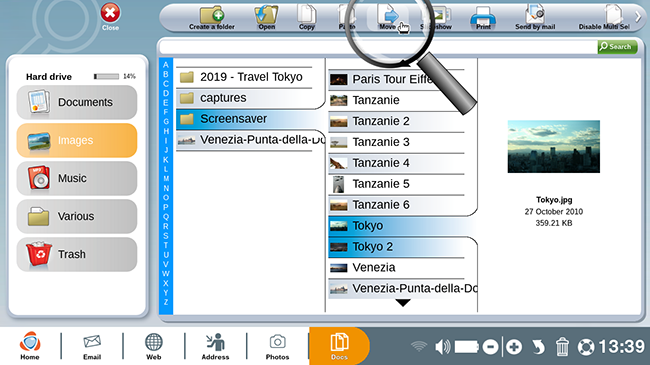
5Move photos.
a. Click on "Move".
Now that your selection is complete, click on the "Move" icon located on the toolbar.
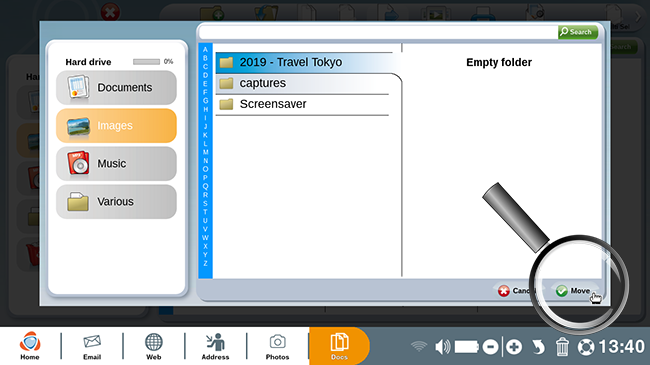
b. Choose the destination folder.
A window opens containing a list of your folders. Choose the one in which you'd like to store the photo in question. In this case, we select the "2019- Travel Tokyo" folder.
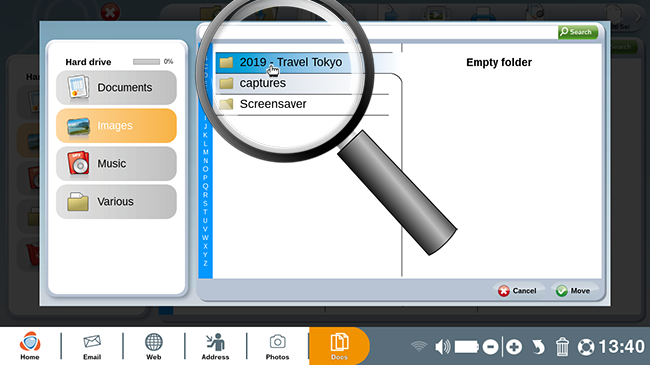
c. Confirm the relocation of photos.
Next, click on the "Move" button at the bottom of the window.
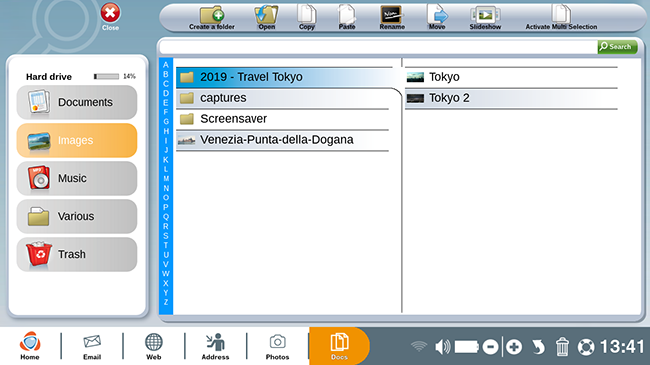
d. Review the created folder.
From here, return to the folder you've just created. In this example it will be the "2019- Travel Tokyo" folder. Note that the moved photos are now correctly relocated to this folder.
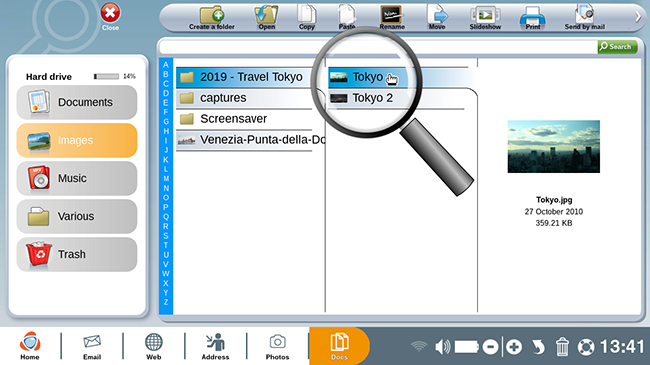
6Rename a photo.
a. Click on the photo.
You wish to rename a photograph. To do so, click on the photo in question.
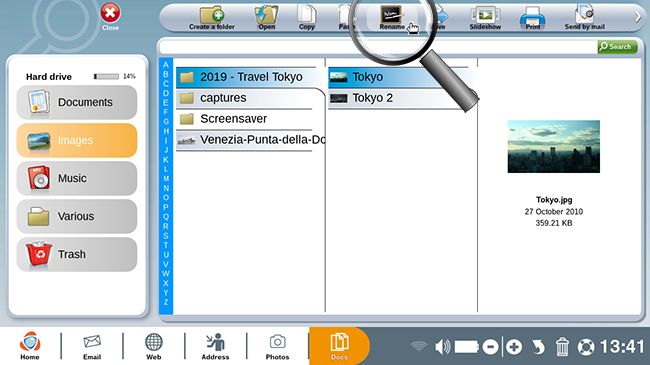
b. Click on "Rename".
Next, click on "Rename" at the top of the screen.
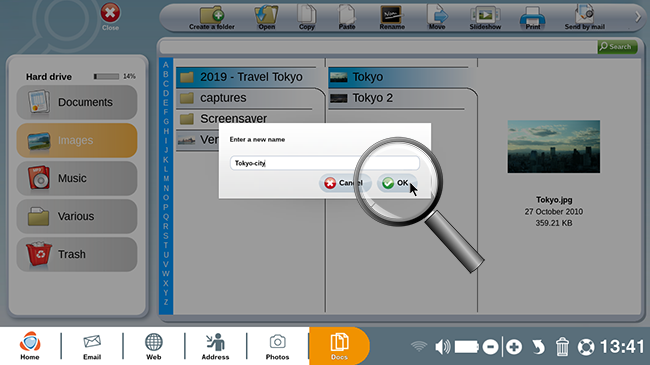
c. Write the new name.
A window will appear asking you to enter in the new name. Write your title of choice for the photo then click on "Ok".
d. Review the new title.
The new title should appear correctly. A preview of the photo and its full title are displayed on the right part of the screen.

7Copy a photo.
a. Click on "Copy".
You wish to copy a photograph. To do so, click on the photo then the "Copy" icon at the top of the screen.

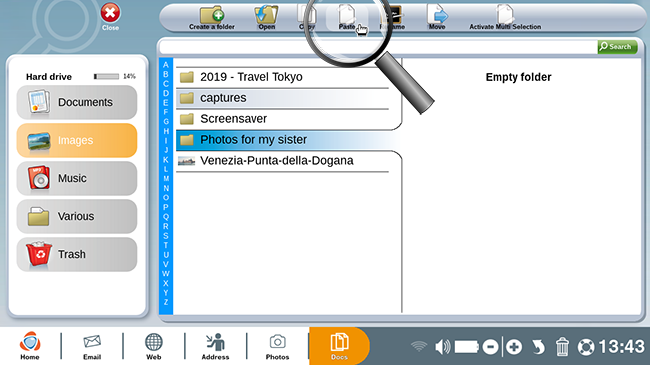
b. Click on "Paste".
Select the folder in which you'd like to paste the photo by clicking on it. In this example, you choose the "Photos for my sister" folder that you've just created, then click on "Paste" at the top of the screen.
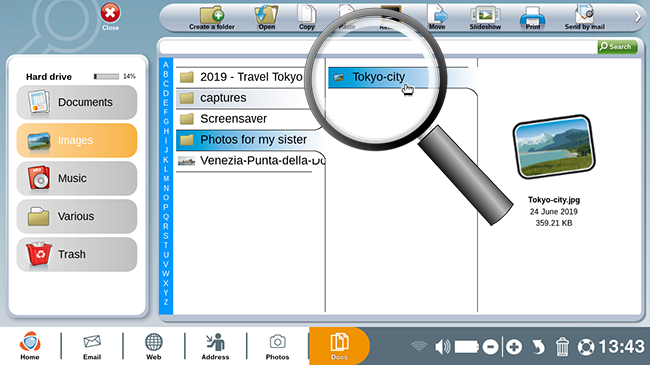
c. Photo copied.
A copy of the photo appears in the folder "Photos for my sister".
8Delete a photo.
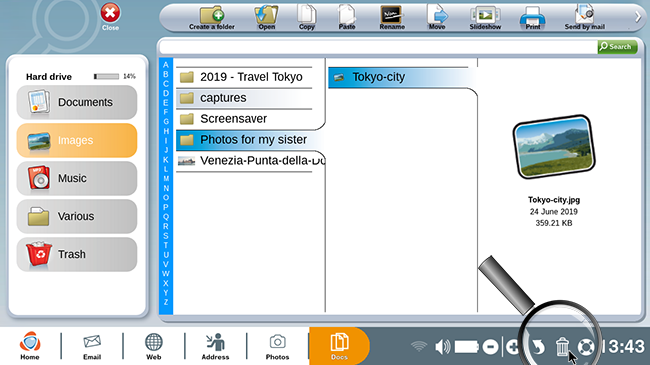
a. Click on "trash".
In order to delete a photo, click first on the photo in question. In this example you click on "Tokyo city". Next, click on the "trash" icon at the bottom right of the screen.
b. Review.
The photo has disappeared, it was correctly deleted.
9Begin slideshow.
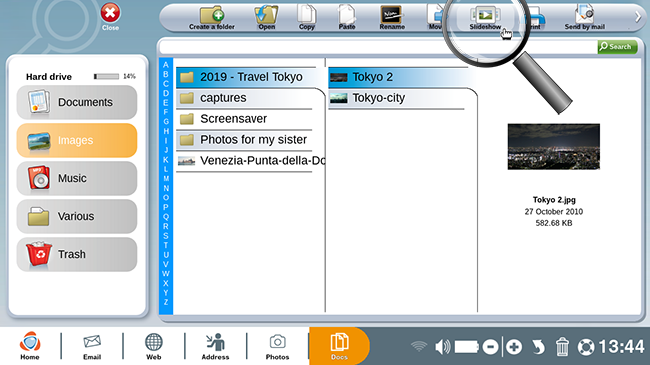
a. Click on "Slideshow".
You would like to look at your pictures in slideshow format. Simply click on one of the photos in the folder then on "Slideshow" at the top right of the screen.
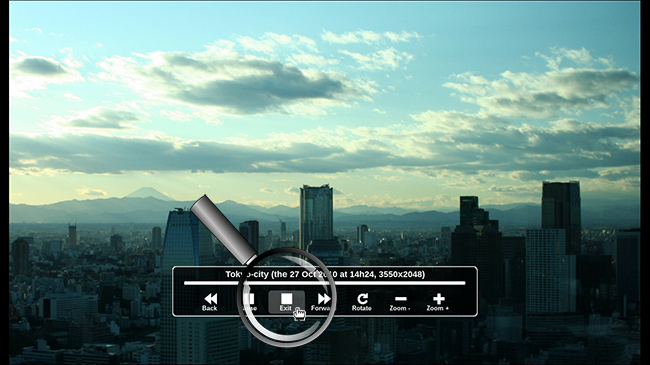
b. "Slideshow" mode.
Here you are in "Slideshow" mode where your photos are displayed automatically one by one. You may stop the slideshow at any time by clicking on "Exit".
Now you can easily sort your photos and folders!
 print
print send to a friend