Introducing your address book! - Tutorials Ordissimo (Ordissimo v4)

Are you hoping to manage your contacts with the "Addresses" application? Together we'll see how to create or delete a contact. We will also go over how to import or export contact info as a calling card (Vcard).
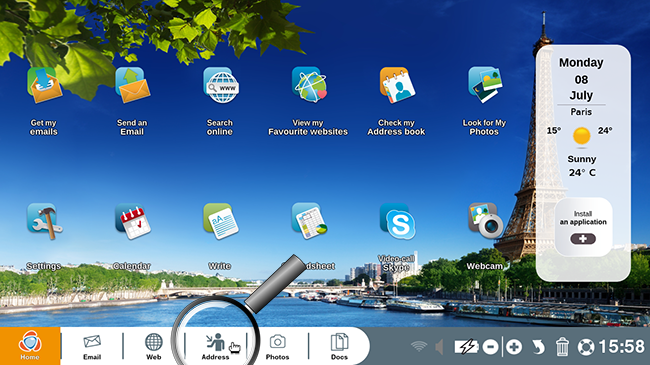
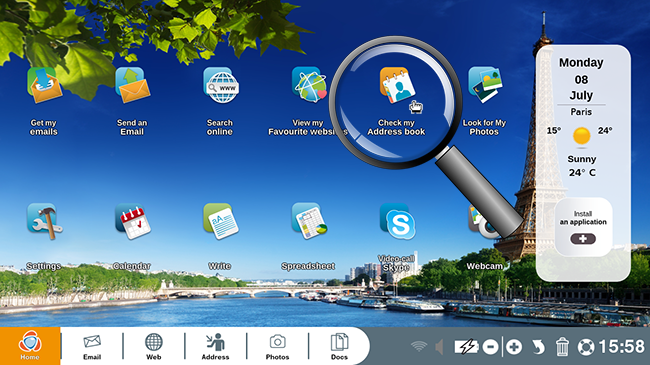
1 Open your address book.
On your Ordissimo home screen,
| Click on "Addresses" on the applications bar | or "Consult my address book" at the top right of the screen |
 |
 |
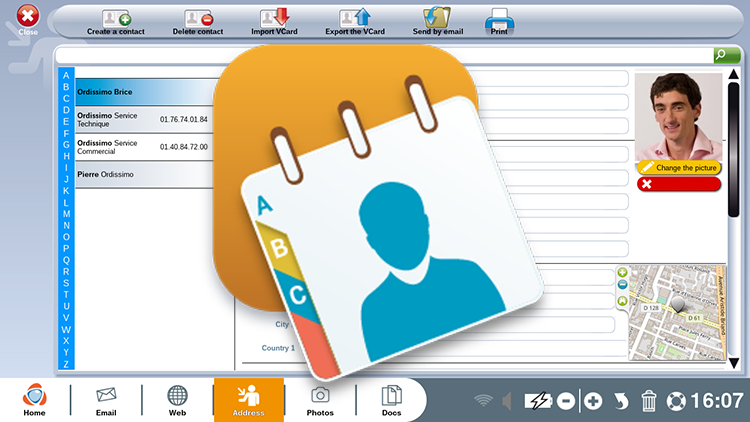
2"Addresses" application presentation.
The "Addresses" application is made up of three elements:
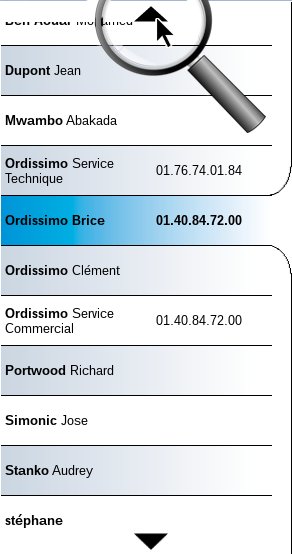
a. Contacts list.
|
You can scroll through the list with the help of the up
|
You can also use the alphabetical directory to the left of your contacts to skip directly to the first letter of the last name of your desired contact. |
 |
 |
 and down
  arrows.
This function is particularly useful if you have many contacts.
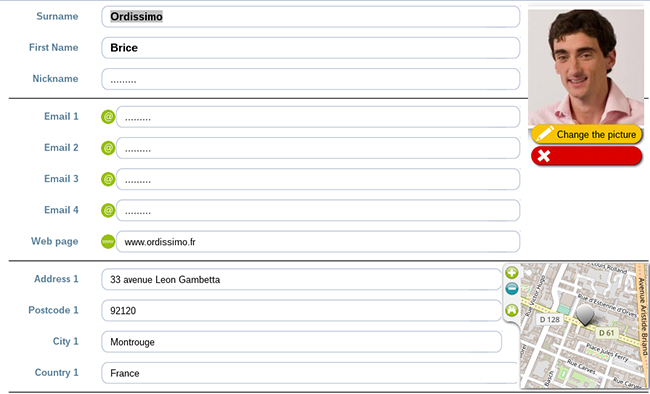
b. Contact details.
| For each contact you can indicate : 1. Last name 2. First name 3. Nickname 4. A first, second and third email address 5. Website 6. Primary address 7. Primary zip code 8. Primary city 9. Primary country 10. Secondary address 11. Secondary zip code 12. Secondary city 13. Secondary country 14. Personal phone number 15. Work phone number 16. Mobile telephone number 17. Fax number 18. Birth date 19. Additional comments |
|
c. Menu bar.
At the top of the application, functions are available allowing you to create, delete, import VCard, export VCard, send by email and/or print contacts.

a. Select "Create a contact".
Begin by clicking on the "Create a contact" option.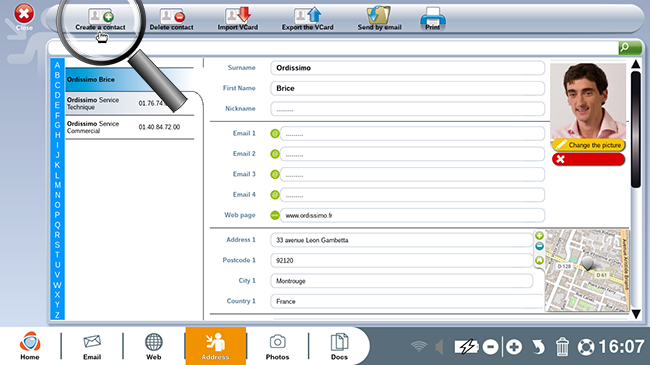
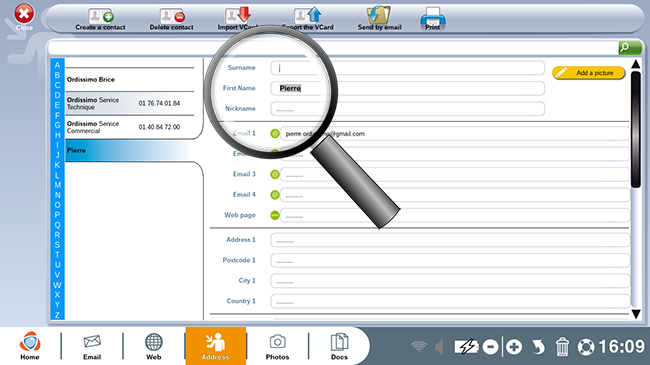
b. Enter the first name.
Next to "First name", click on the text box and the cursor will appear. Now you can use your keyboard to enter in the contact's first name. Hit "Enter" on the keyboard to automatically move to the next field.
The entered information automatically appears in your contact list (left hand column).
Enter your contact's primary email address in the field "Email 1".
This address will be used by default when sending emails to this contact with the "Email" application.
Careful to enter this email address in correctly or else your sent mail won't reach the recipient!
You can proceed by filling in remaining fields as you wish.
4Add a contact photo.
a. Click on "Add a photo".
Once your contact has been created, click on the "Add a photo" button to the top right of the contact sheet.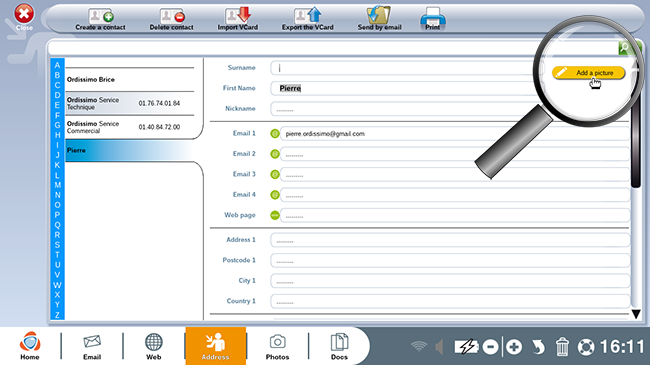
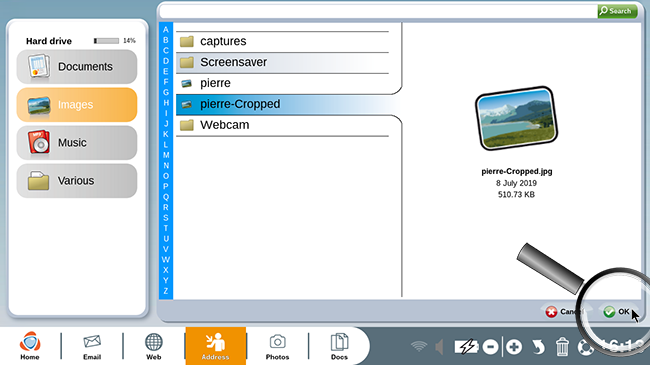
b. Choose an image.
Go to your "Images" directory to look for your photo of choice for representing your contact. Click on the chosen photo to select it, then on the "OK" button to the right of the window to continue.
c. Photo preview.
The photo in question has been added to your contact sheet!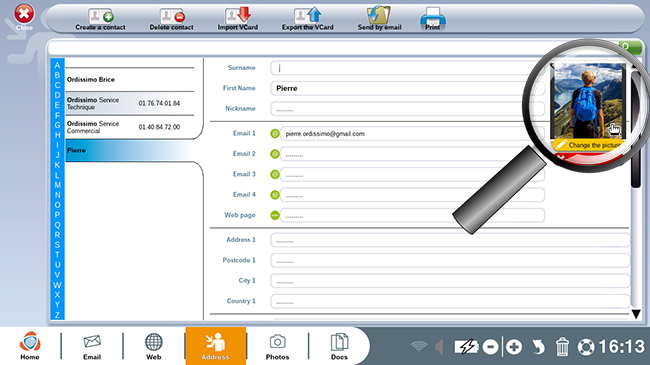
5Delete a contact.
a. Select a contact.
To delete a contact, you must first select it.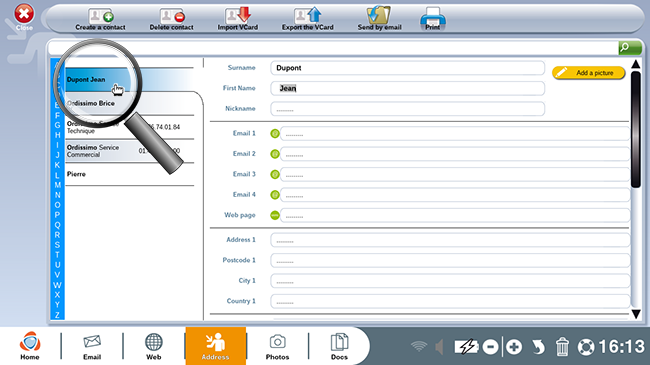
b. Click on the "Delete contact" icon.
Once the contact is highlighted in blue, click on the "Delete contact" icon.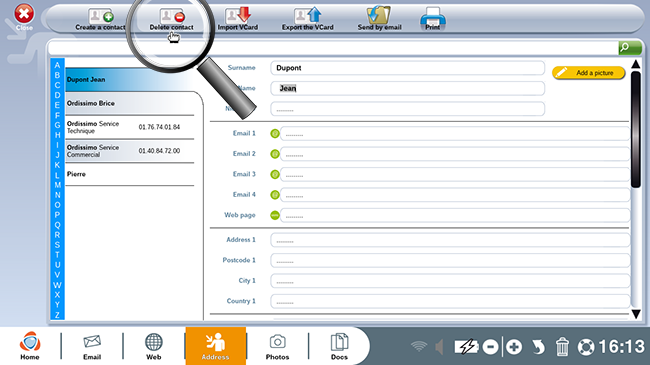
6Import a Vcard file (digital calling card) from an email.
Go to the "Email".
You've just received contact information for someone as an email attachment and would like to save it in your address book.
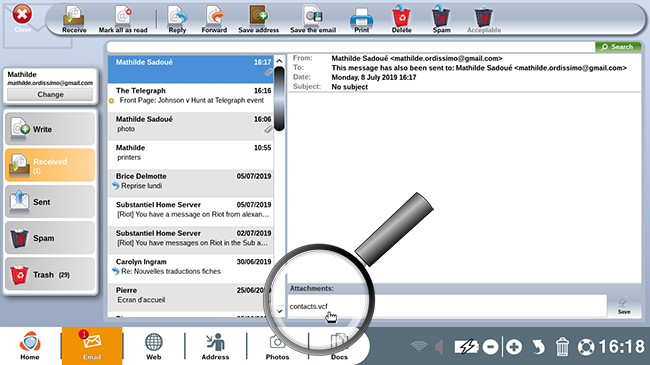
a. Open the email with the new contact.
Open the email containing the VCard to be imported with your Ordissimo's "Email" application. At the bottom of the email, click on the attachment entitled "contacts.vcf" (with a .vcf extension).
b. Import the contact.
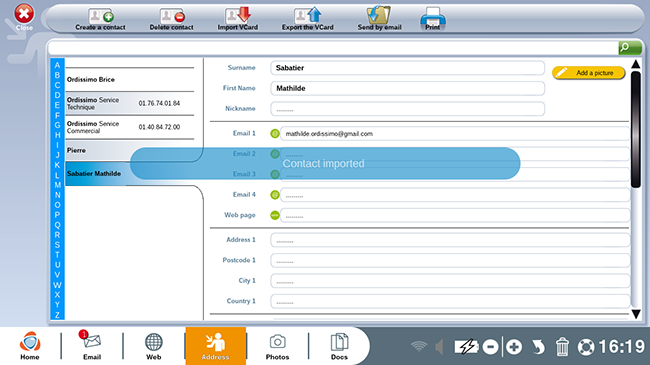
You'll automatically arrive in the "Addresses" application. A message will appear saying, "Contact imported".
If your address book already contains an imported contact, the message "Contact ignored" will appear so as to avoid creating a duplicate.
c. Review the imported contact.
The name of your imported contact then appears in your contact list.
7Import a Vcard from "Docs".
You can also import a Vcard from a USB drive. In this instance, you'll need to use the "Import a Vcard" window.
a. Select the option "Import VCard".
You can import a VCard by clicking on the "Import VCard" icon.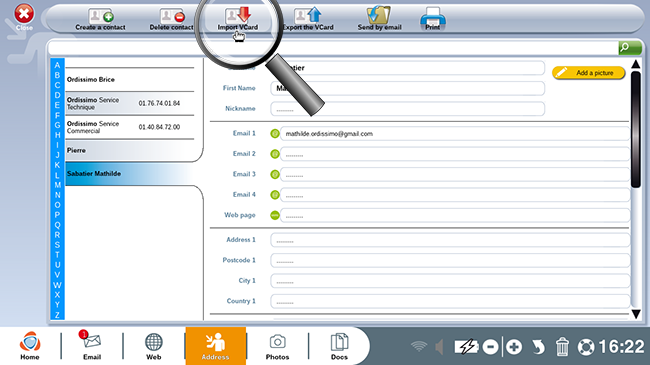
b. Look up a contact.
In the window that appears, select the directory in which the Vcard you'd like to import is stored, then find and click on the Vcard before clicking "OK".
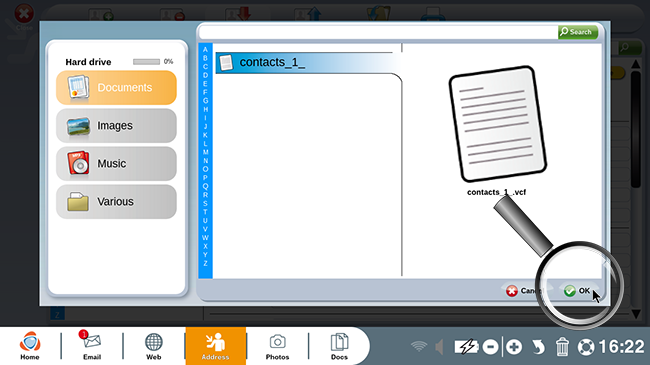
If the Vcard you'd like to import is located on a connected device (a USB drive for example), click on the directory name corresponding to the connected device.
c. Review the imported contact.
The name of the imported contact will appear in your list of contacts.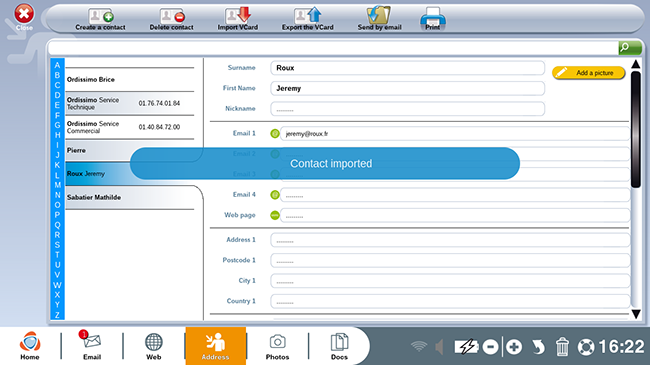
Another way of importing a Vcard with "Docs": go to the contact file with a ".vcf" extension and click on the "Open" icon.
8Export a Vcard to "Docs".
You can export a VCard by clicking on the "Export the VCard" icon (exportation to an external hard drive, USB drive etc. )
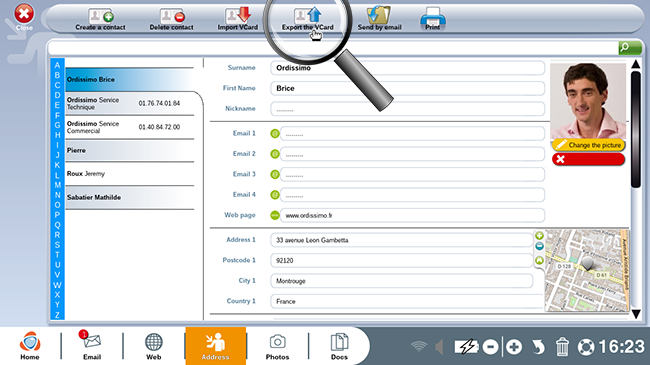
a. Select "Export Vcard".
Select the contact whose Vcard you wish to export then click on the "Export the Vcard" button to send it to another device (computer or telephone).
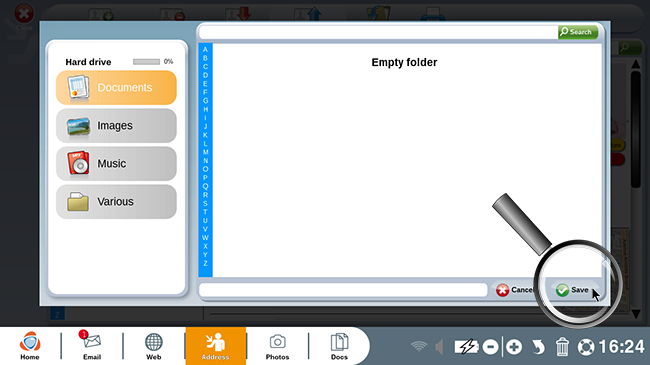
b. A window opens.
In the window that opens, choose the folder in which you'd like to save the Vcard then click on "Save".
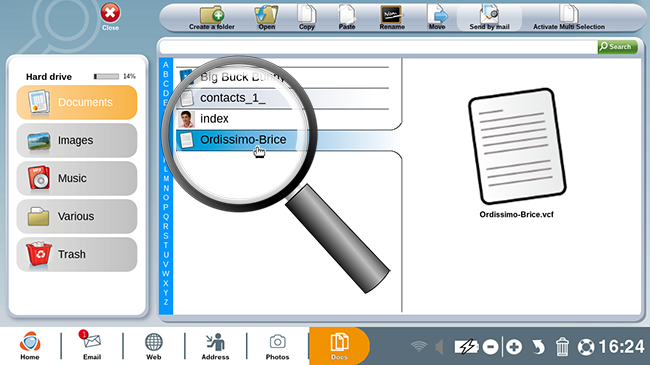
c. Verify that the contact was saved.
By going to "Docs", you can verify that the Vcard (file that ends in ".vcf") was saved in the correct folder.
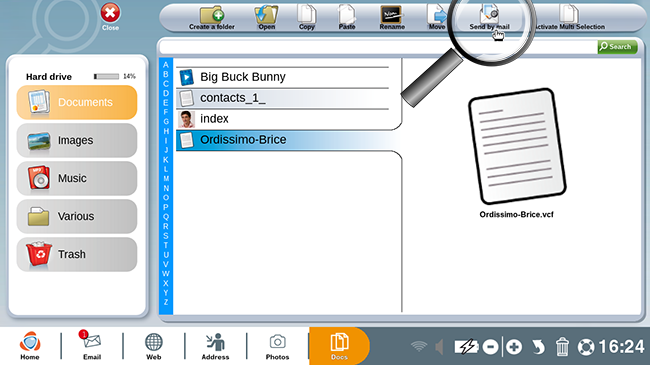
9Export a Vcard from "Docs" to an email
a. Click on "Send by mail".
In "Docs", click on the Vcard you'd like to send then on the "Send by email" icon at the top of the screen.
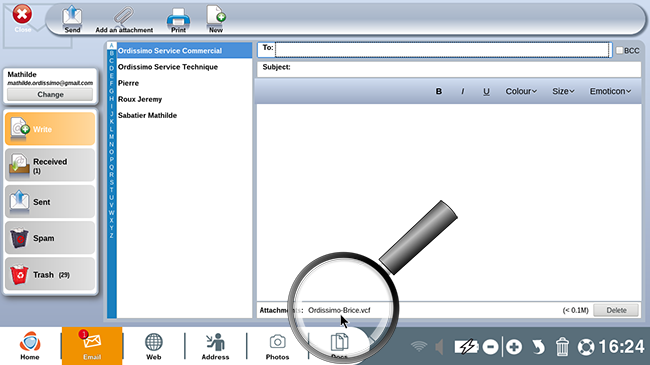
b. Review the attachment.
The "Email" application will open automatically. Here you can see that the Vcard for exportation was attached to the email.
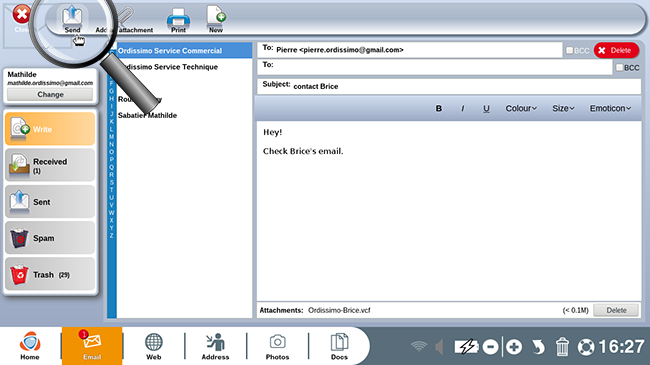
Enter the recipient's email address followed by the subject and message.
c. Click on "Send".
Once all necessary information has been filled in, click on "Send".
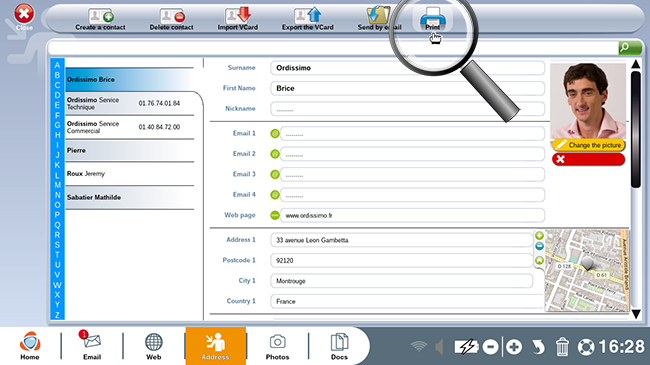
10Print a contact.
a. Click on the"Print" option.
Once a contact has been selected, click on the "Print" button.
b. A window will open.
The application proposes to print the selected contact.
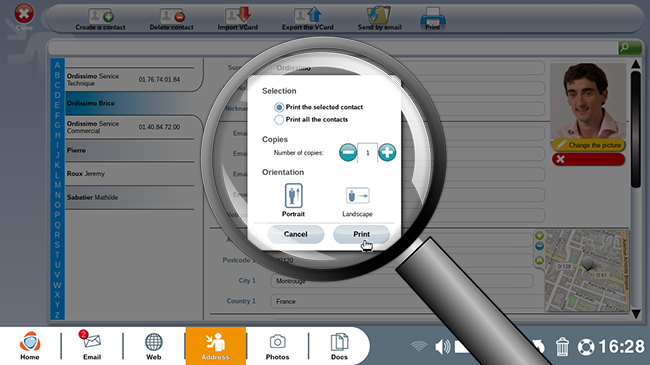
Notice that you can also print your entire contact list.
c. Review the printed document.
After being printed, the contact sheet should appear as in the image below.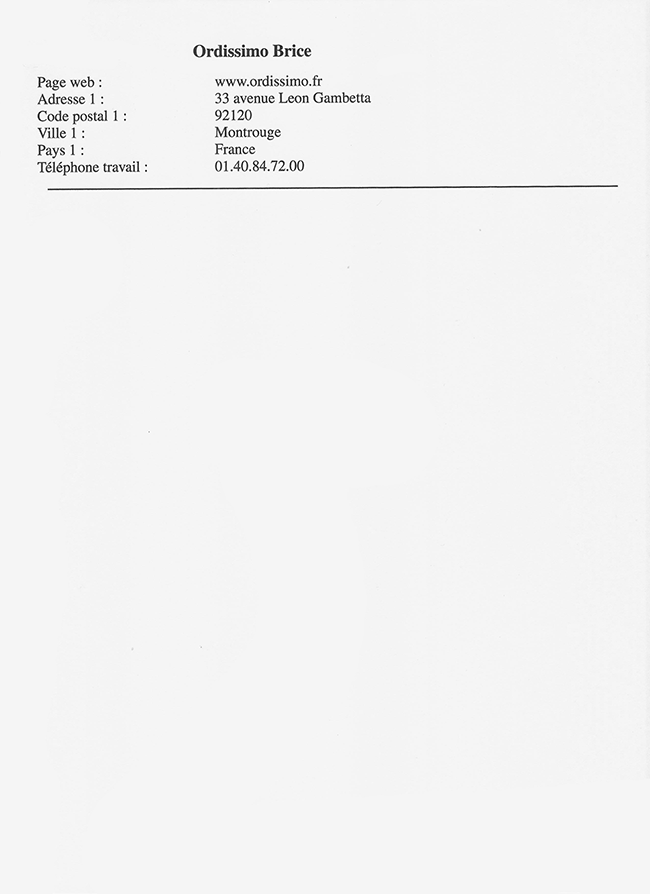
 print
print send to a friend