How to configure a USB connected printer - Tutorials Ordissimo (Ordissimo v4)

Together we'll see how to set up a new printer with Ordissimo. Before we start, make sure to take note of your printer model (indicated on the receipt or on the printer itself) and verify that your printer is guaranteed (this should be a criteria for purchase).
![]() Verify beforehand that your are connected to the internet and that your printer is properly connected to your computer via USB cable.
Verify beforehand that your are connected to the internet and that your printer is properly connected to your computer via USB cable.
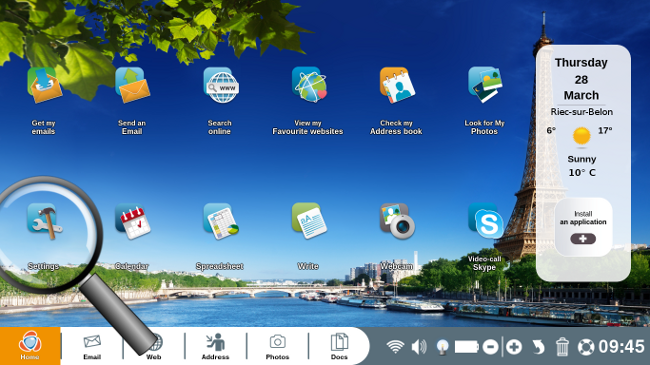
1 Click on settings.
On the home screen, click on the "Settings" icon.
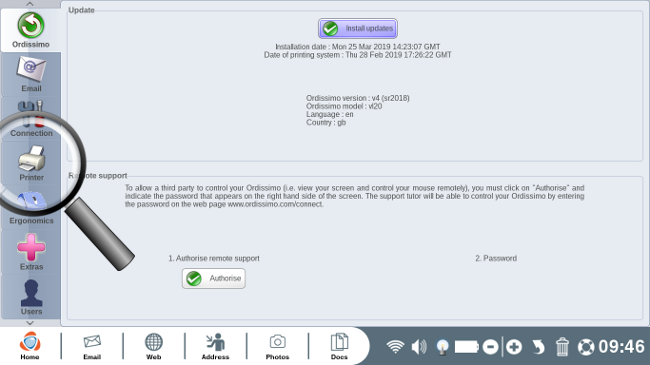
2Access your printer's control panel.
Once in your Ordissimo settings, click on the window labeled "Printer".
3Double check that your printer appears in the list of printers.
Now you have access to your printer's control panel.
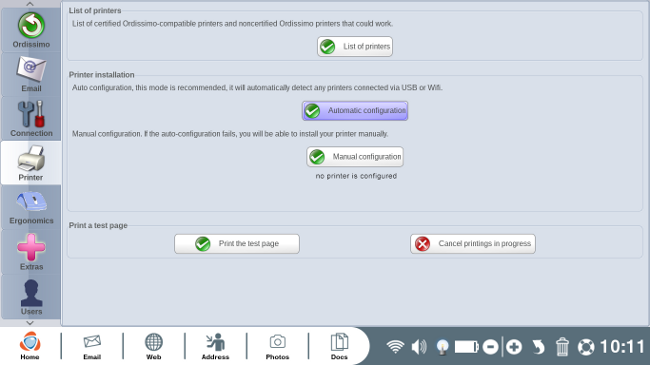
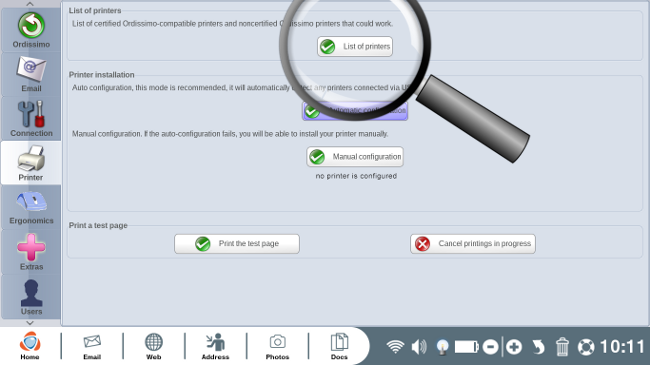
a. Click on "List of printers".
In the "List of printers" section, click on the "List of printers" button.
b. Make sure that your printer name appears on the list.
A web page will appear listing "Printer drivers available for your Ordissimo".
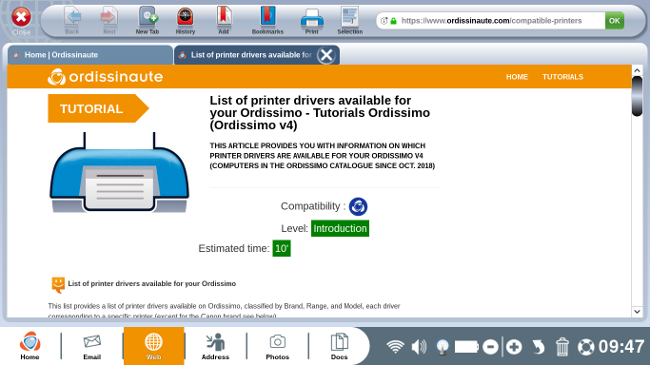
Printers that have been tested and verified as compatible with Ordissimo are labeled certified. (cf. practical guide "Choosing the right printer for your Ordissimo").
Now you see why it's necessary to be connected to the internet!
4Automatic configuration your printer
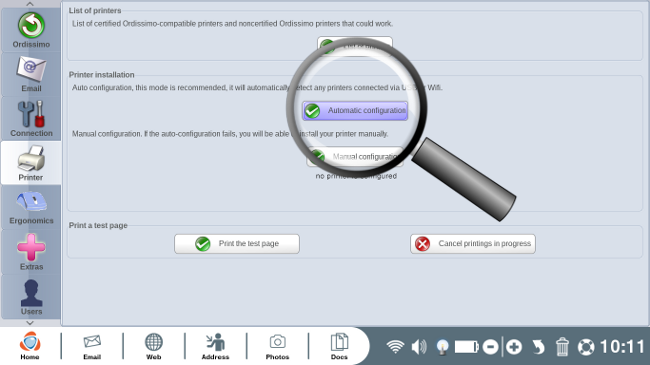
a. Click on "Automatic configuration".
Click once again on "Settings" followed by "Printer". Once more you'll find yourself in your printer's control panel. In the section "Printer installation", click on "Automatic configuration".
b. Printer detection.
From here, wait while your Ordissimo detects all local printers.
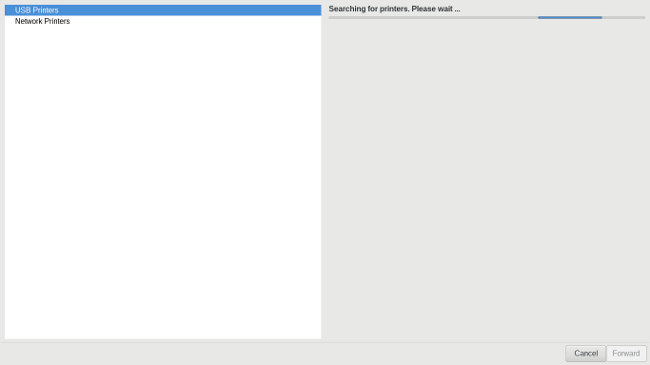
To the left of the screen, "USB Printers" is automatically selected and can remain that way. You'll notice that your Ordissimo takes some time to search for local printers and will ask you to wait patiently until it has finished its search.
c. In the section "USB printers", find and select your printer.
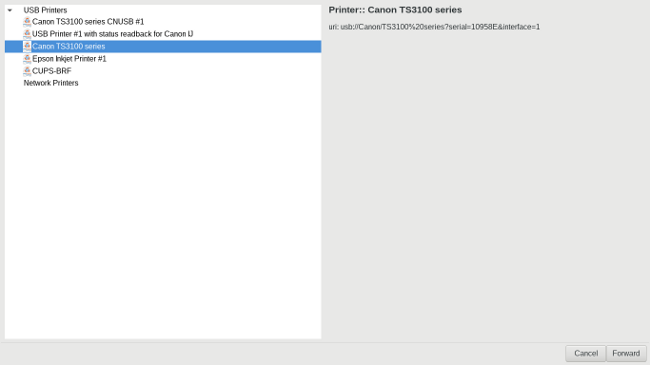
Click on your printer model in the list of printers.
Make sure to avoid the one that has a url starting with ipp.
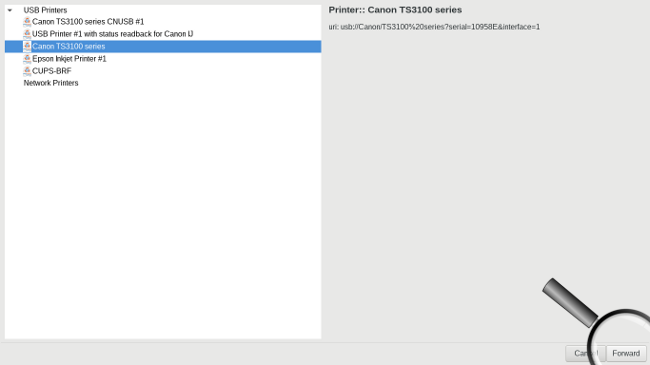
d. Click on "Forward".
Now, click on "Forward" and wait patiently...
5 Confirm configuration.
Once again you'll find yourself in your printer's control panel.
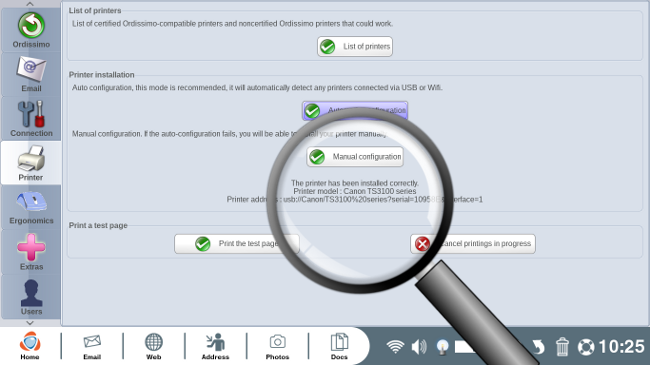
You can verify whether or not your printer was configured correctly thanks to the message below "Manual configuration". :
"This printer has been installed correctly.
Printer model : ...
Printer address : ..."
6Verify the configuration.
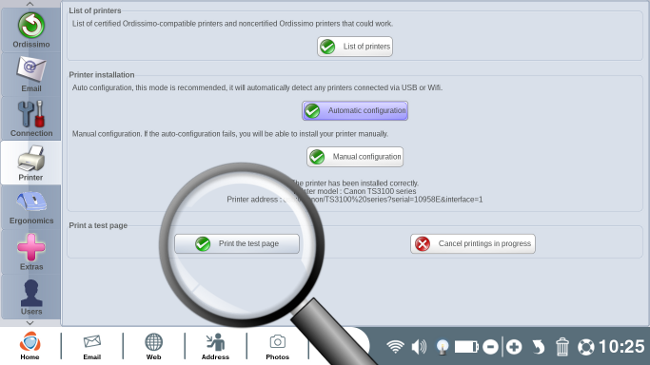
a. Print a test page.
In the "Print a test page" section, click on the button labeled "Print the test page".
b. The test page will print.

If your printer was configured correctly then a document similar to this one will print.
![]() Make sure there's at least one A4 sized sheet of paper in the printer before printing the test sheet.
Make sure there's at least one A4 sized sheet of paper in the printer before printing the test sheet.
c. Validate the configuration.
To validate the configuration, I enter the 3 numbers written on my test page and I click on validate.
 print
print send to a friend