"Write" a correctly formatted letter. - Tutorials Ordissimo (Ordissimo v4)

Together we'll go step by step through how to write a letter and use various toolbar options. We will also go over how to use the "Tab" key on your Ordissimo keyboard. As an example, we'll look at a letter intended for your insurance agent concerning your contract.
1Click on the "Write" application.
On the home screen, click on the "Write" application.
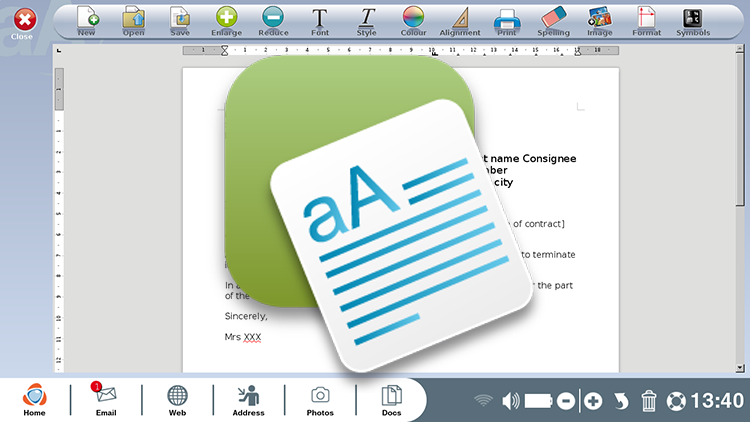
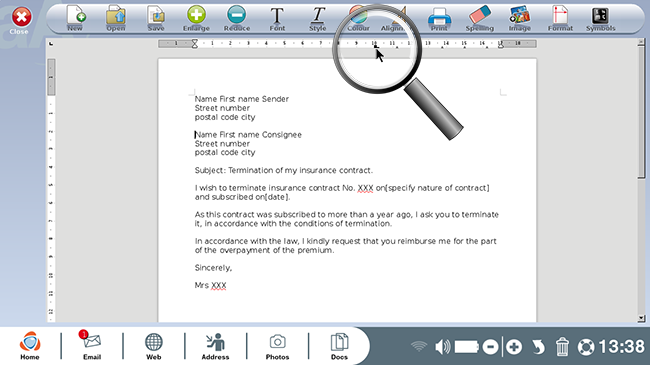
2The "Write" application toolbar.
Here you are in the "Write" application. Below is a detailed explanation of each of the toolbar's icons, located at the top of the screen.

1) New: Creates a new, blank document. If you've already begun writing a text, Ordissimo will ask if you'd like to save it before opening a blank document.
2) Open: Open a document you've already written or received.
3) Save: Once you've written a text, click here to save it. Ordissimo will open your "Documents" directory and you can choose the location in which you'd like to save the document. Click on "Save" and your document will be stored for future use.
4) Enlarge or Reduce: After selecting your text, you can enlarge or shrink it with the help of these buttons.
5) Font : Choose a font (a particular text style).
6) Style : Put the text in Bold, Italics or Underline it.
7) Colour : Choose a text color.
8) Alignment : Align selected text: to the left, right or center.
9) Print : Print the document in use.
10) Spelling : Check for spelling mistakes (grammatical errors not detected).
11) Image : Insert an image into your document. Ordissimo opens your "Document" application from which you can choose a photo by selecting it and clicking on "Open". You can move and/or resize the photo thanks to its small green corners.
12) Format : Choose document orientation => Portrait or Landscape.
13) Symbols : Insert symbols not available on your keyboard.
3Place cursor.
With the help of your mouse, place the cursor at the top of the page before you begin typing.
![]() The default font is "Bitstream Charter".
The default font is "Bitstream Charter".
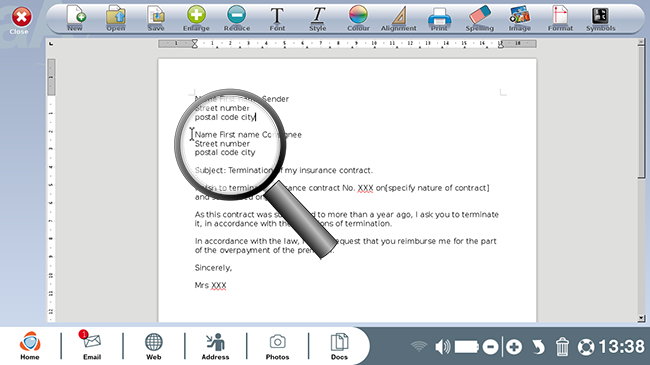
4Insert indentation.
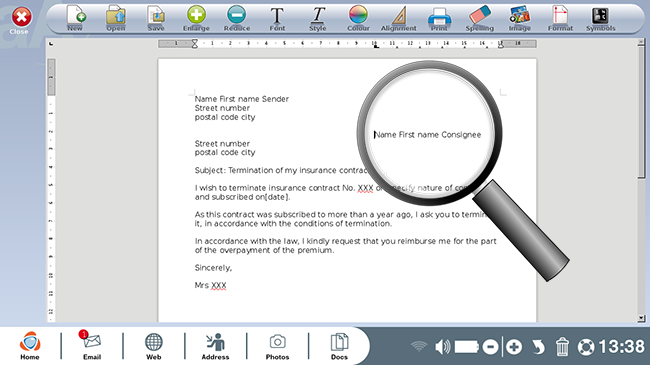
Here is the sample letter. Imagine that, as with most standard letters, you'd like to place the recipient's address to the right of the page.
a. Click to the left of the line you'd like to move.
In order to shift the text, you'll need to insert a 10cm indentation starting at the left border. With the help of your cursor, click to the left of "Name First name Consignee".
b. Click the ruler in the spot where you'd like to move the text.
From here, use your mouse to click on the little number 10 at the top of the screen in order to insert a 10cm indentation.
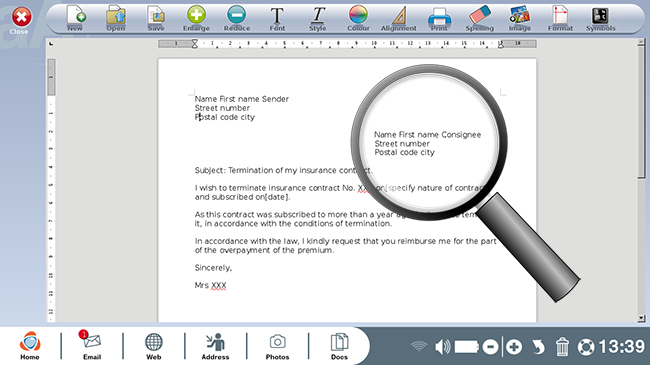
c. Click on "Tab".
Then, put your cursor back in front of "Name First name Consignee" and press the "Tab" key on your Ordissimo keyboard.
d. Review the indented text.
Complete the same step on the following two lines and the recipient's address should be correctly aligned to the right of the page.
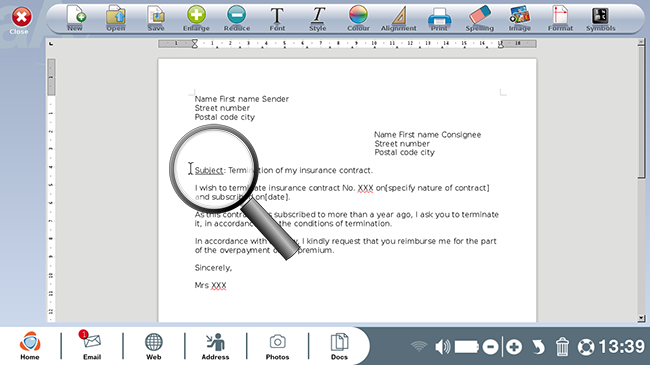
5Underline a word.
a. Select a word.
Now, you'd like to underline the word "Subject". Select it using your mouse.
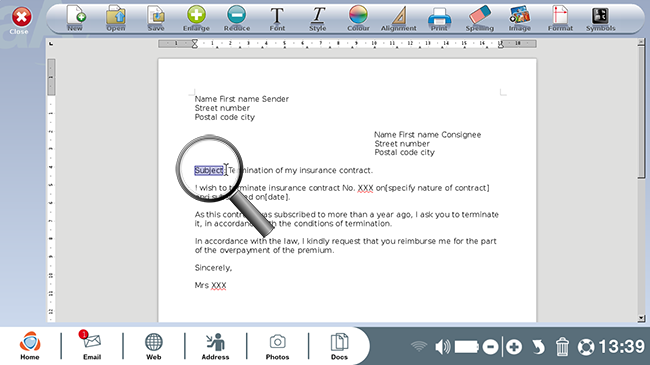
b. Click on the "Style" icon to choose the "Underline" option.
Next click on "Style" then "Underline".

c. Review the underlined word.
Here is what it looks like once "Subject" is underlined:
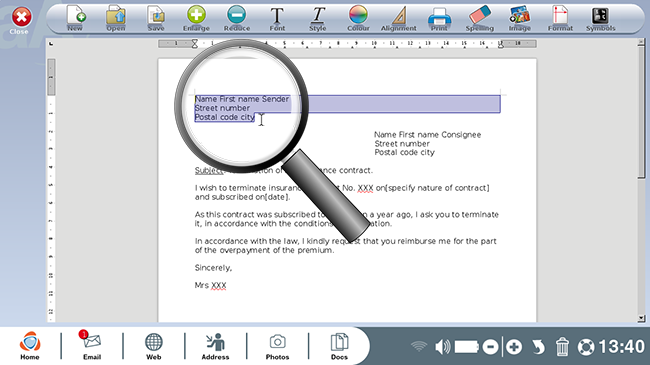
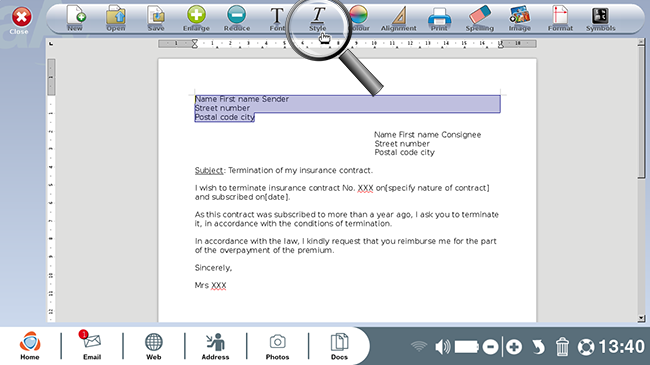
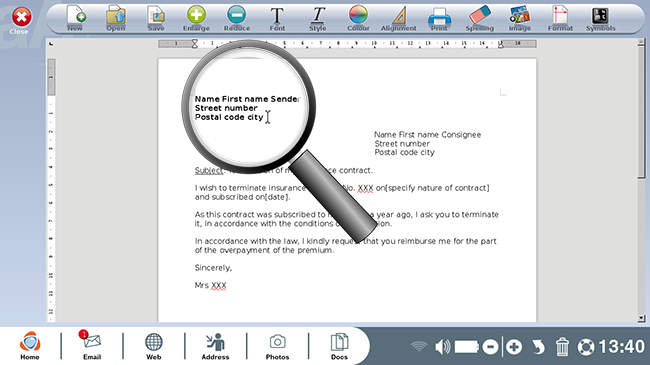
6Bold a paragraph.
a. Select the text.
Now you'd like to put your address in bold to make it stand out. Select the desired text.
b. Click on the "Style" icon then on "Bold".
From here, click on "Style" then "Bold".
c. Review.
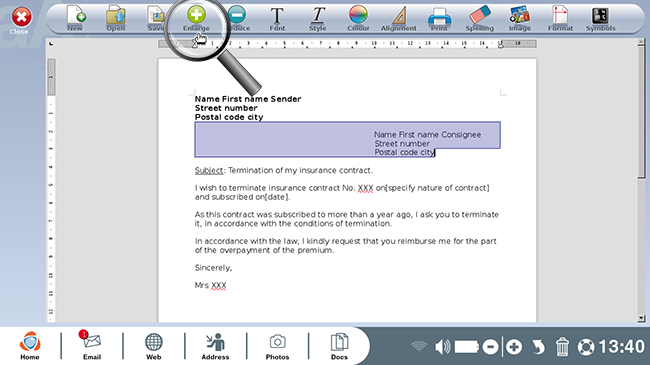
7Enlarge font size.
Next you'd like to enlarge the recipient's address.
a. Click on the "Enlarge" icon.
After selecting the text, click on the "Enlarge" icon on your toolbar.
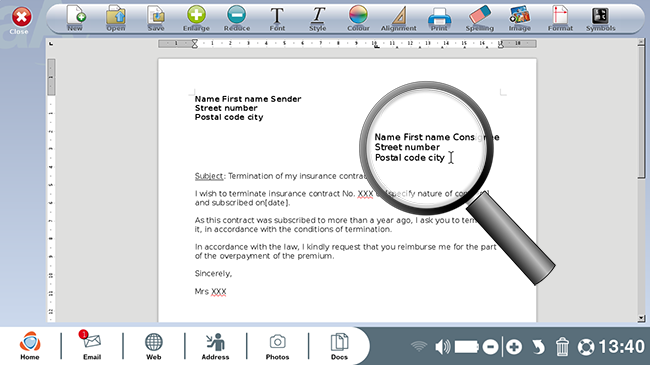
b. Enlarged address.
Here is the recipient's address in a larger font size.
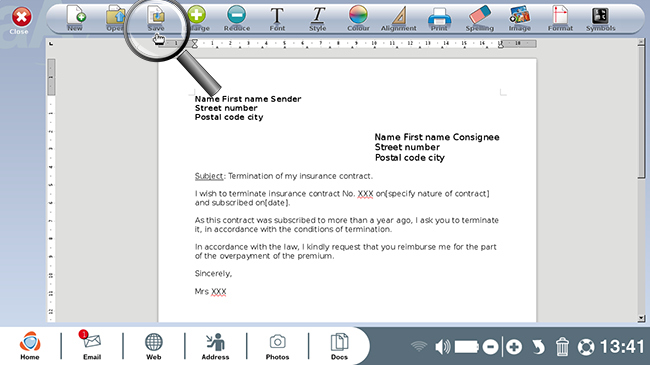
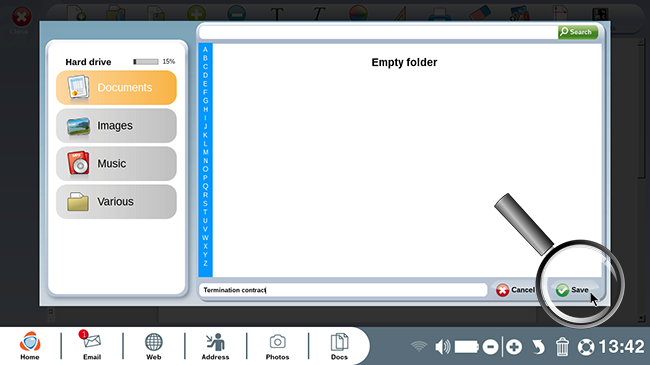
8Save your letter.
Finally, you'd like to save the letter for your insurance company.
a. Click on "Save".
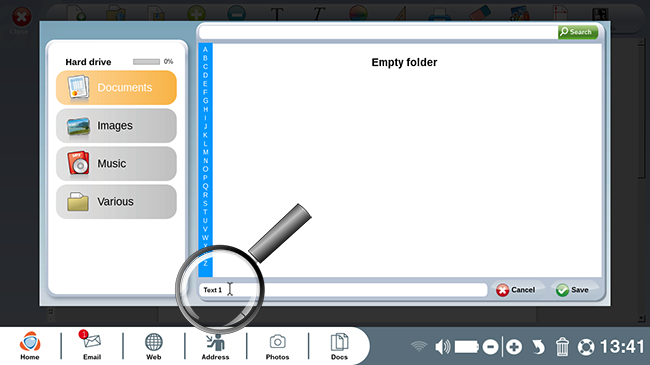
b. Choose the directory in which to save the document.
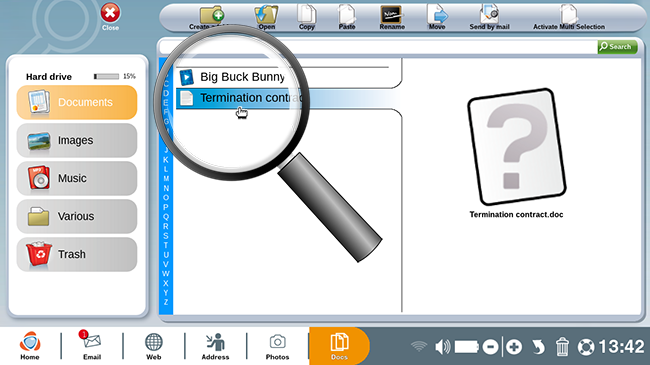
A window will appear allowing you to choose the destination directory for your letter. In this example you choose to save it in the "Documents" directory, which you click on. To modify the document's title, type in the new name directly and replace "Text 1", as was previously marked.
c. Click on "Save".
Then use your mouse to click on "Save".
d. Your document has now been saved.
 print
print send to a friend