How to retouch a photo - Tutorials Ordissimo (Ordissimo v4)

Together we'll see how to reframe a photo, then how to adjust brightness thanks to the "Brightness +" and "Brightness -" buttons and how to adjust a photo's contrast. Finally, we'll try out the black & white and sepia effects.
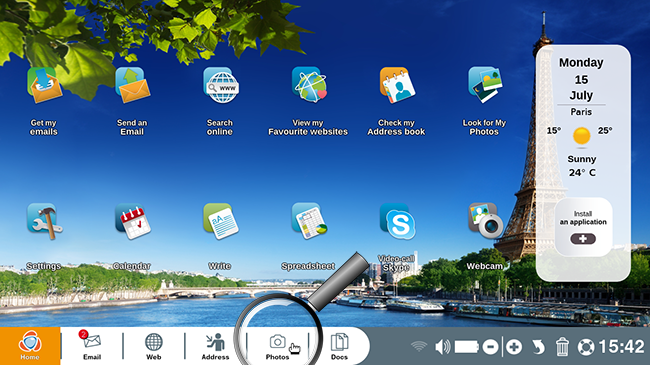
1Click on the "Photos" applications.
On the home screen, click on the "Photos" icon at the bottom of your screen.
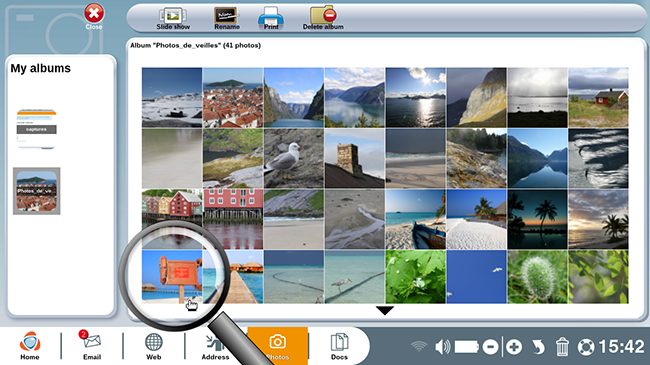
2Select the photo.
In the "Photos" application you will find all of your saved photographs. Click on the photo that you would like to modify. In this example, we choose the photo "Maldives".
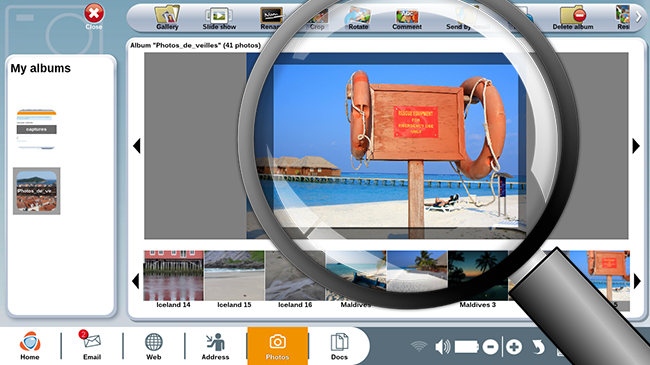
3Reframe the photo.
a. Click on the "Crop" icon.
You wish to reframe the photo in order to eliminate unnecessary borders. To do this, click on the "Crop" button on the toolbar at the top of your screen.
b. Crop the photo.
With the help of your mouse, click on a point on the photo. Hold the mouse down while simultaneously dragging your cursor until you form a rectangle with the new photo dimensions of your choice.
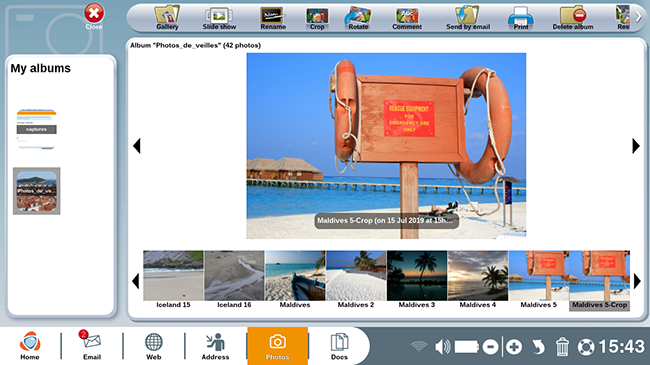
c. Review the resized photo.
Your Ordissimo will automatically create a new file with the retouched photo. The original photo is preserved with its original dimensions. With any change made to a photograph (size, brightness, contrast, black & white or sepia effects), the original photo is always preserved.
![]() Different information is displayed at the bottom of each photo:
Different information is displayed at the bottom of each photo:
- photo name
- date and time that the photo was taken
- photo size
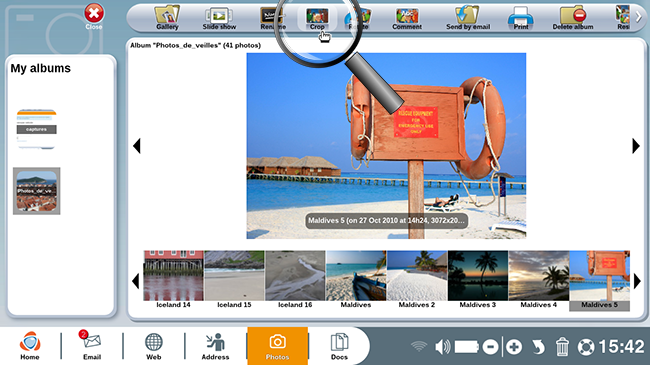
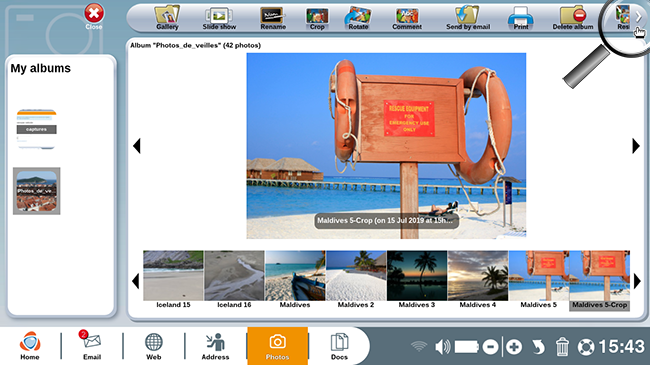
4Access other tools.
Now, click on the arrow at the top right of your screen in order to access other Photo application tools.
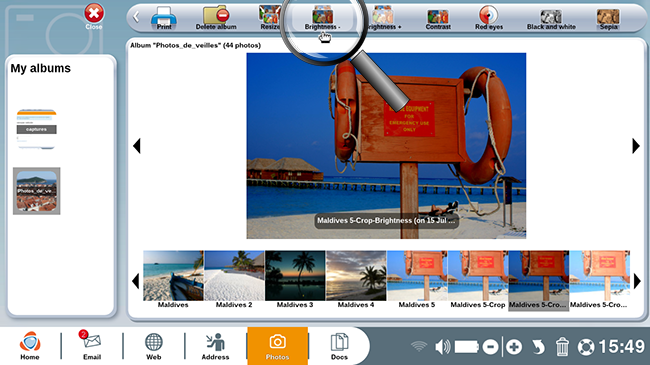
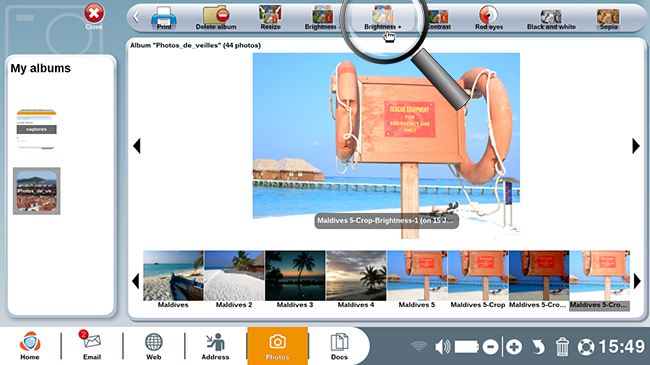
5Modify brightness.
In order to change the brightness of a photo, select the photo of your choice then click on the "Brightness +" or "Brightness -" button.
| a. Here's a snapshot of your photo after clicking several times on "Brightness -". | b. Here's a snapshot of your photo after clicking several times on "Brightness +". |
 |
|
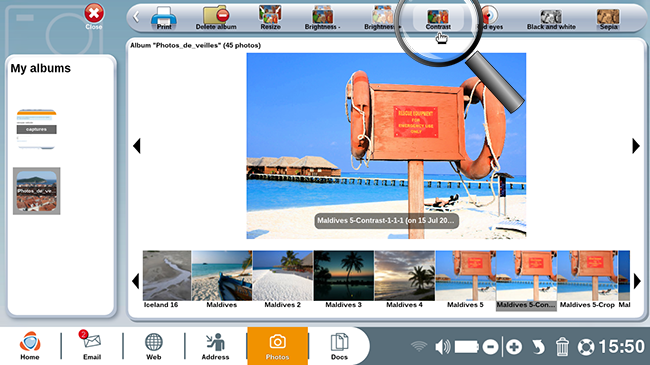
6Play with contrast.
Now you'd like to add more contrast to a photograph. To do so, click on the "Contrast" icon and notice that the photo's outlines become more contrasted.
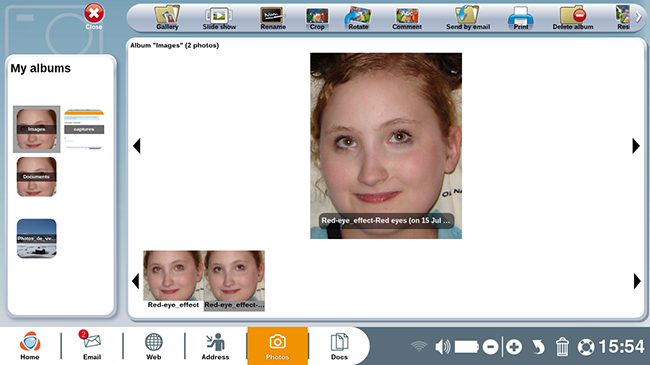
7Fix red eyes.
a. Click on the "Red eyes" icon.
Sometimes when you take photos of people, their eyes appear red photographs. To fix this, select a photo in question then click on the "Red eyes" button.
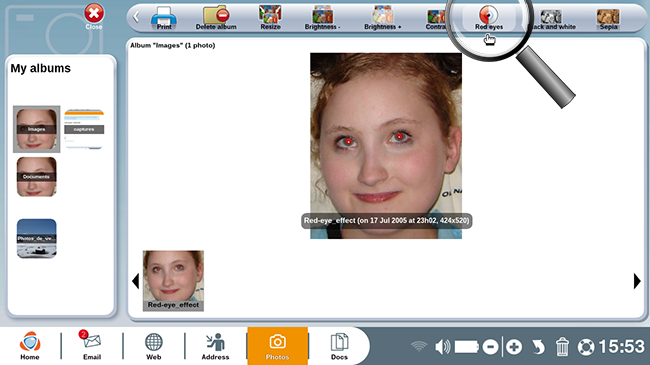
b. Select the pupil zone.
Then, with the help of your mouse, select the zone with the pupil: the area will be automatically corrected.
8Photo effects.
a. Black and white effect.
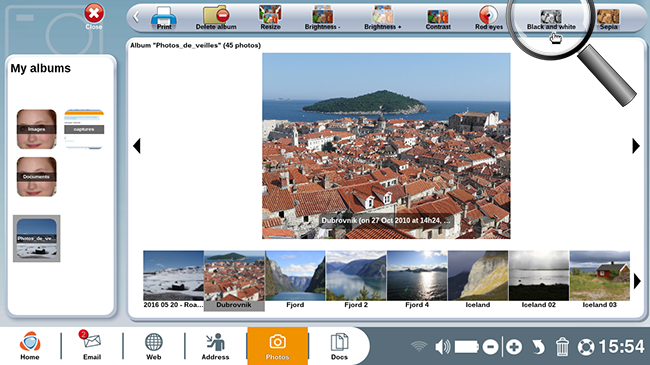
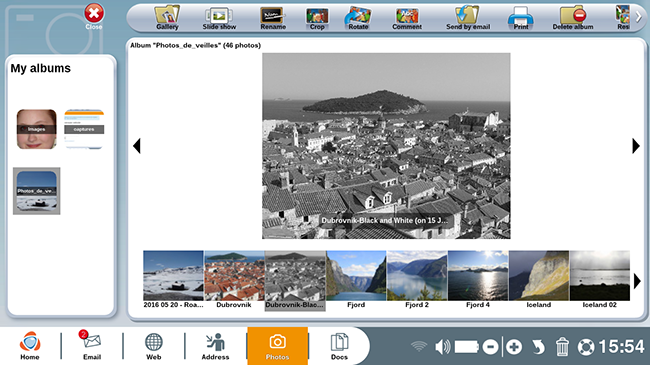
Black and white effect: to change a colored photograph into black and white, select the photo by clicking on it then click on the "Black and White" icon.
| Click on the "Black and White" icon to the top right of your screen. | Here's a snapshot of the photo in black and white. |
|
|
|
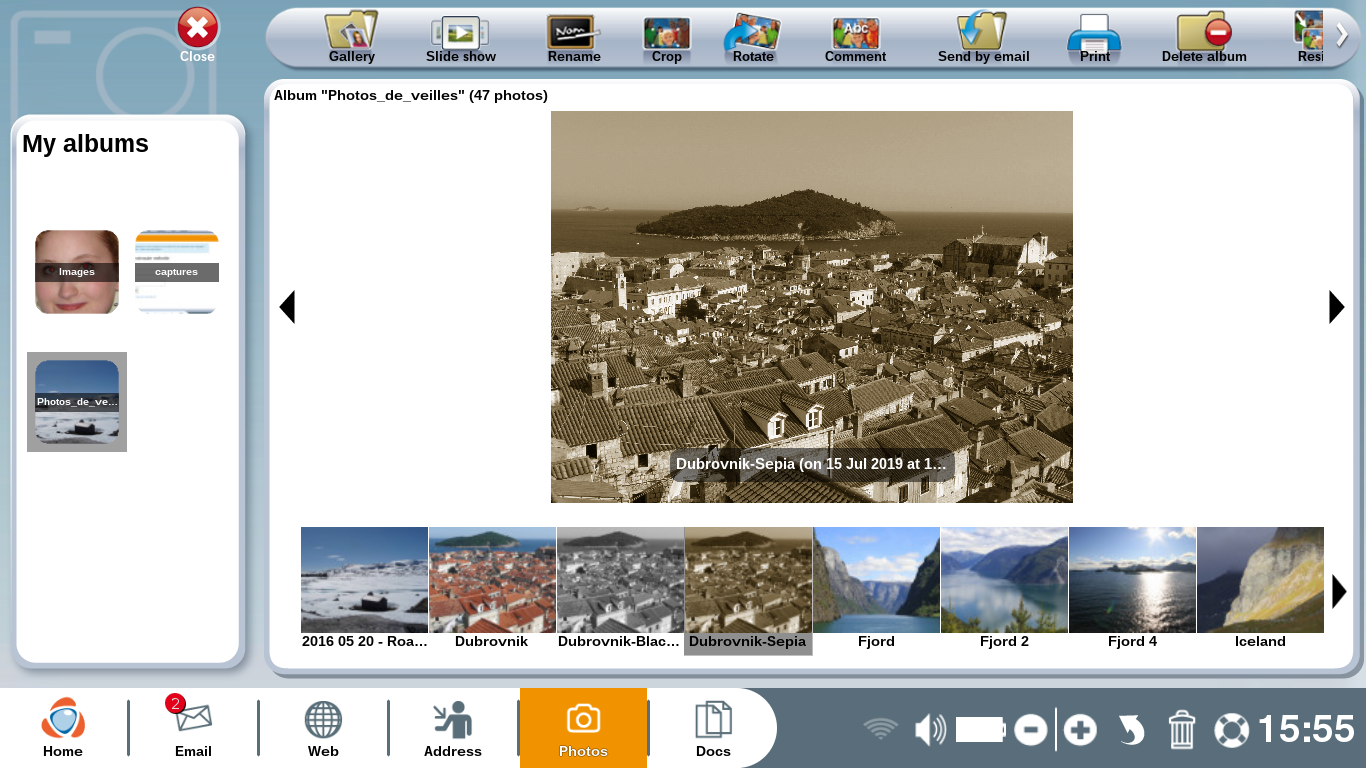
b. Sepia effect.
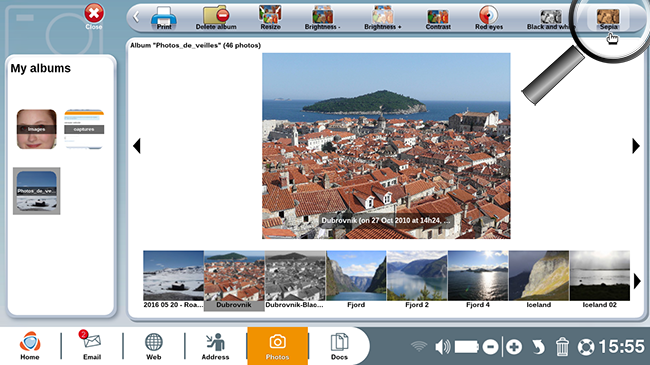
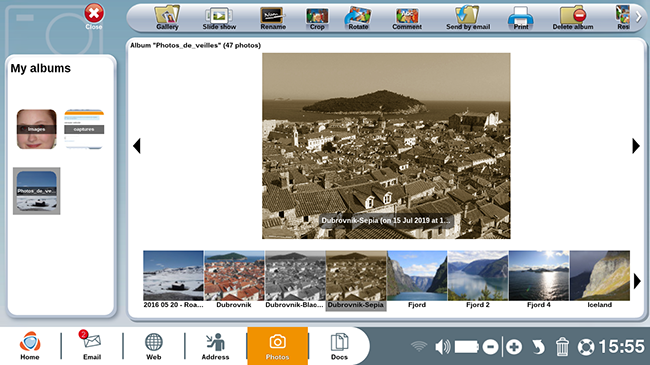
Sepia effect : to add a sepia effect to your photo, select it then click on the "Sepia" icon.
| Click on the "Sepia" icon at the top right of your screen. | Here's a snapshot with a Sepia effect. |
|
|
|
 print
print send to a friend