
How to insert an image in a document using the "Write" application - Tutorials Ordissimo (Ordissimo v4)

Together we'll see how to personalize a text by adding images and modifying the format using the "Write" application.
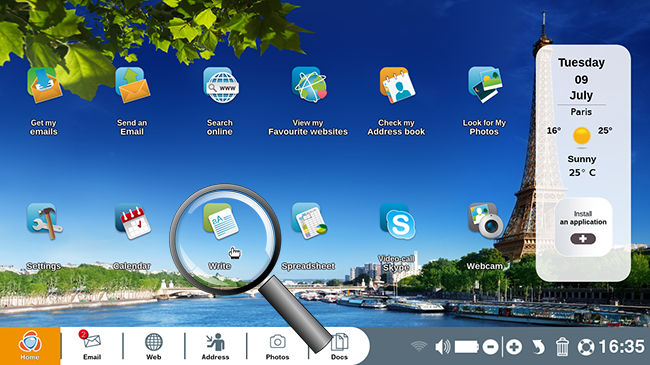
1Click on the "Write" application.
On the home page, click on "Write".
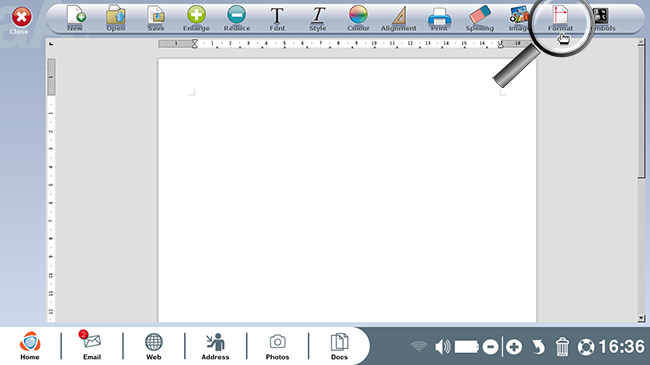
2Change page layout.
Here you are in the "Write" application. If you'd like to change the page layout, use your mouse to click on "Format" then select "Landscape".
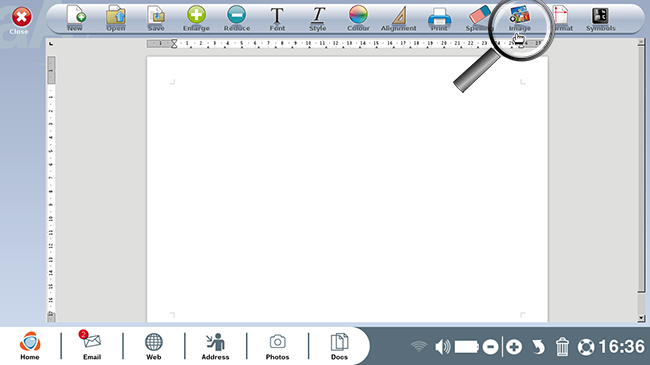
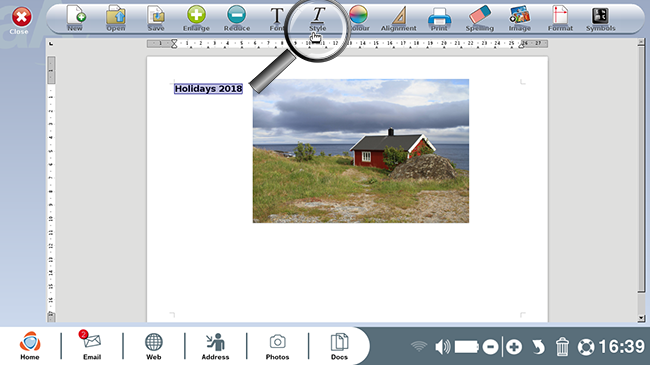
3Click on the "Image" icon.
To illustrate your document by inserting a photo. Click on "Image" at the top right of the toolbar.
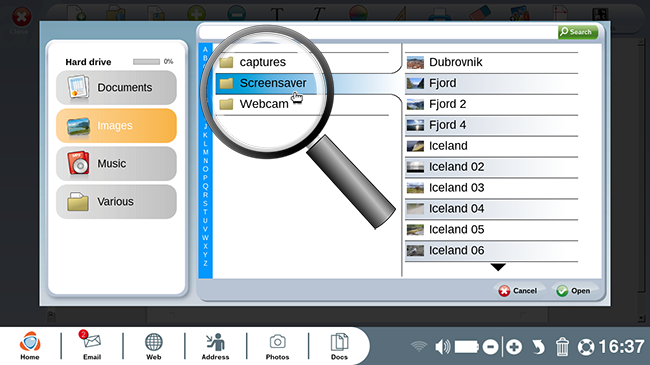
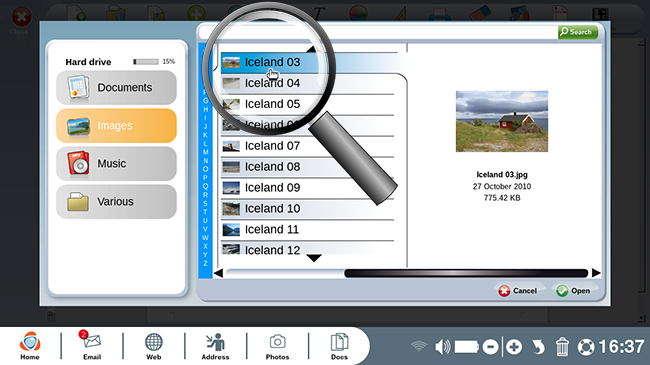
4 Choose the photo.
A window will appear. Choose the "Images" directory followed by the "Screensaver" folder (of course you can choose any directory and folder that contains the desired photo).
5Select the photo.
a. Once in the correct folder, choose the desired photo and click on "Open" at the bottom right of the window.
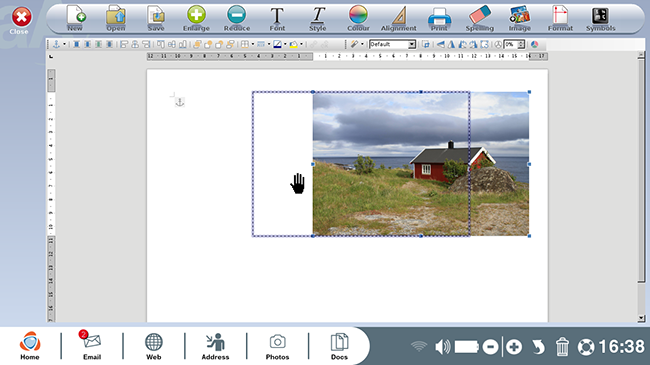
b. Position the photo in the document.
The selected photo will appear in your document. You can reposition it by clicking on it and holding down your mouse as you use it to move the photo to a new spot (the cursor transforms into a hand to signal that you can move the photo as you wish).
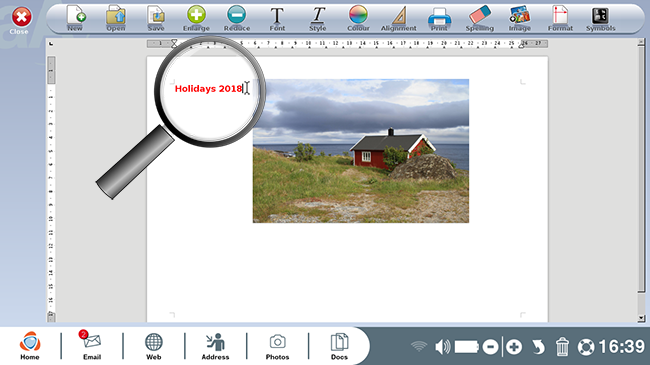
6Make your title colorful.
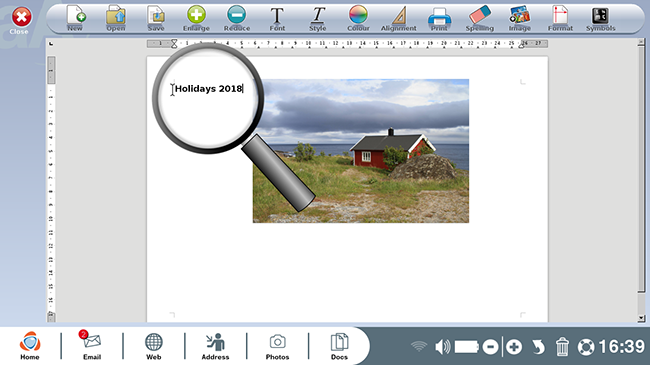
a.Write the title.
Now you'd like to add a title. Using your mouse, click on the place you'd like to create the title and begin typing.
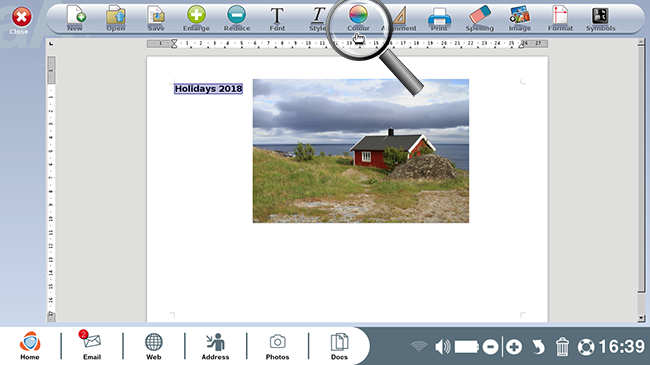
b. Select the text.
To place emphasis on the title, you can change its color. To do so, select it then click on the "Colour" icon which will allow you to choose a color.
7Choose a different style for your title.
Next, click on "Style" on your toolbar and select "bold".
8Review modifications.
Here is your new bold, red title.
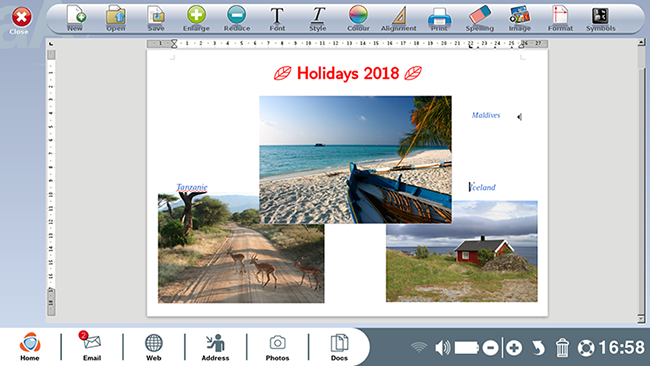
9Example
As an example, here's a snapshot of something you might create with the tools we've just gone over.
 print
print send to a friend